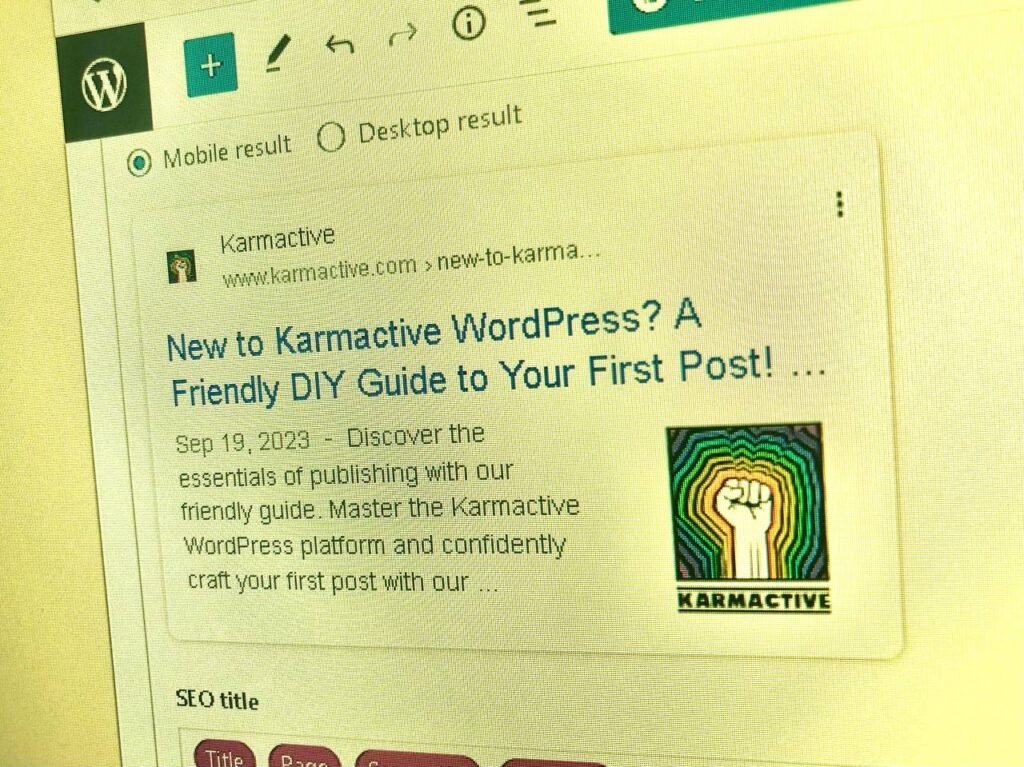
Welcome to the comprehensive guide for new members of the Karmactive Team! Embarking on a new journey can often come with its set of challenges, but we’re here to make your transition smooth. This guide is designed to walk you through the process of publishing an article on our platform. From ensuring you have the right equipment to the intricacies of setting up links and SEO configurations, we’ve got you covered. Let’s dive in and get you started on your first post!
Before you begin, make sure you have a descent computer with minimum 5mbps internet. speed. Once you have your login details, follow the guide which explains step by step process to publish.
Login to WordPress:
- Go to your WordPress website’s admin URL (usually yourdomain.com/wp-admin).
- Enter your username and password to log in.

1. Create a New Post:
- In the left sidebar, hover over “Posts” and click on “Add New.”


Note: Ask your colleague if you have any doubts
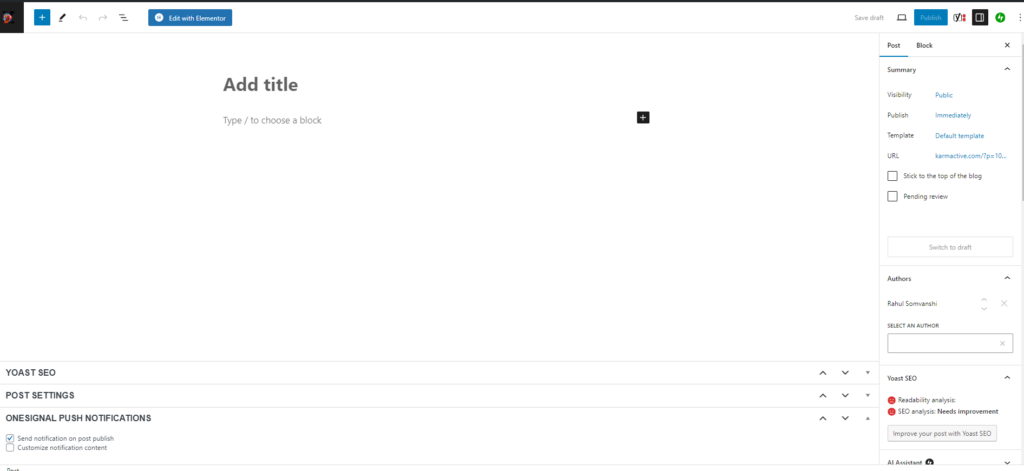
2. Enter Your Content:
- Find the given doc for the article that is supposed to be published.
- Find title in your given doc and copy

- Find the title field in WordPress’s new post tab
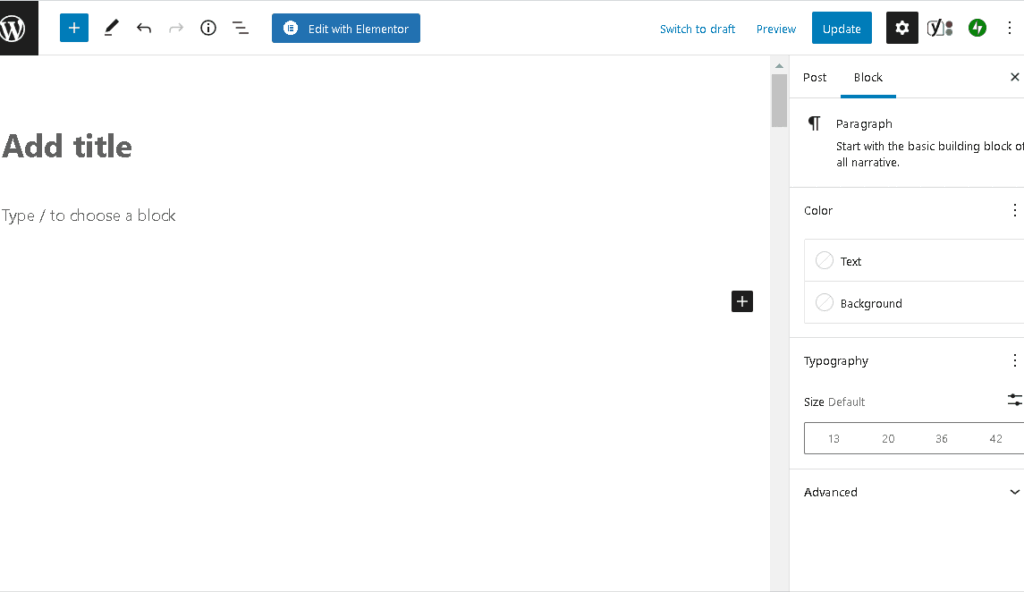

- Add the title for your post in the title field by pasting.

- Find the main body of the article in the given doc and copy.
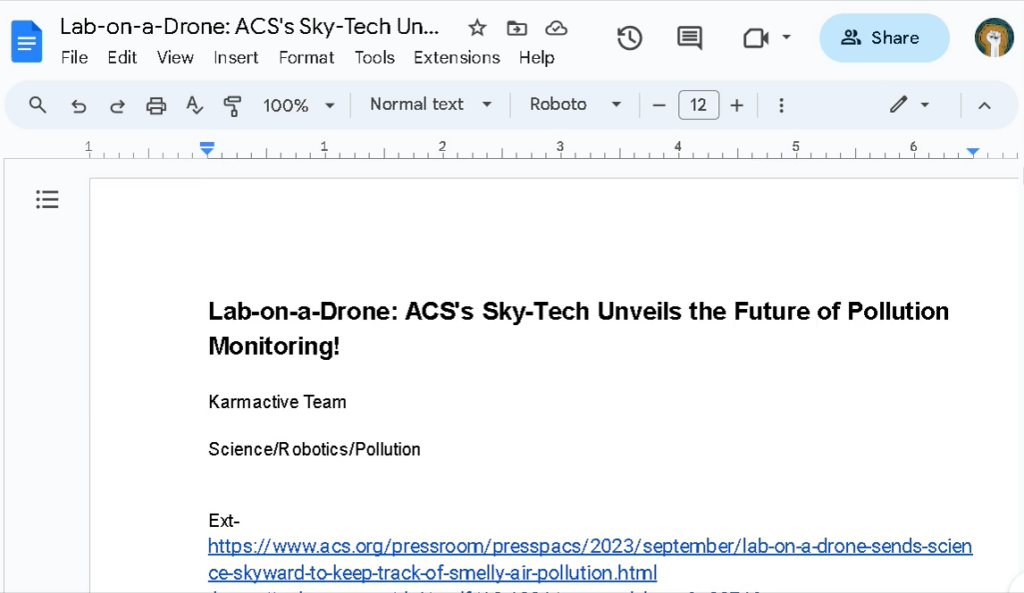
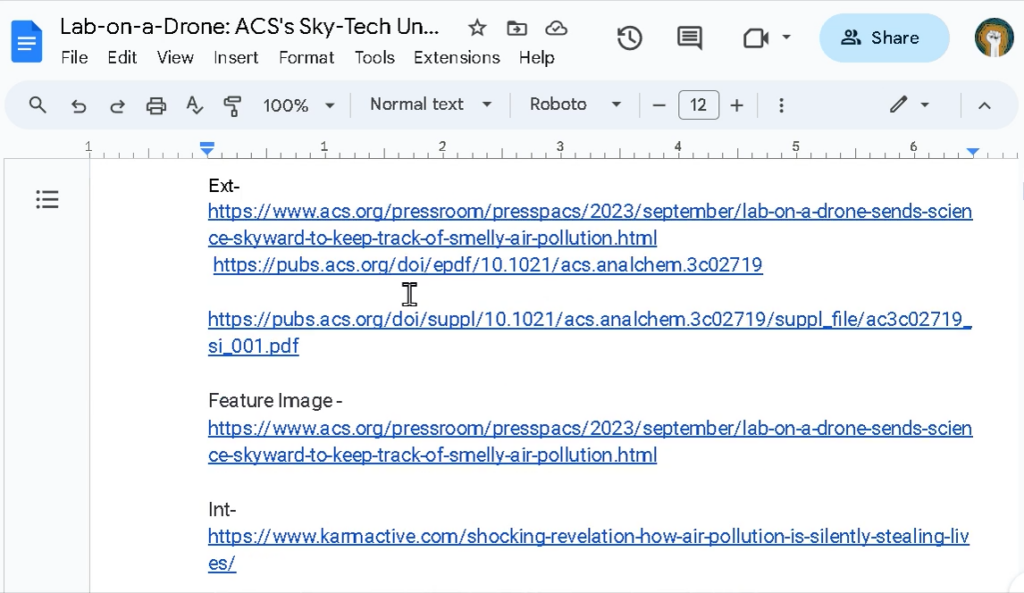
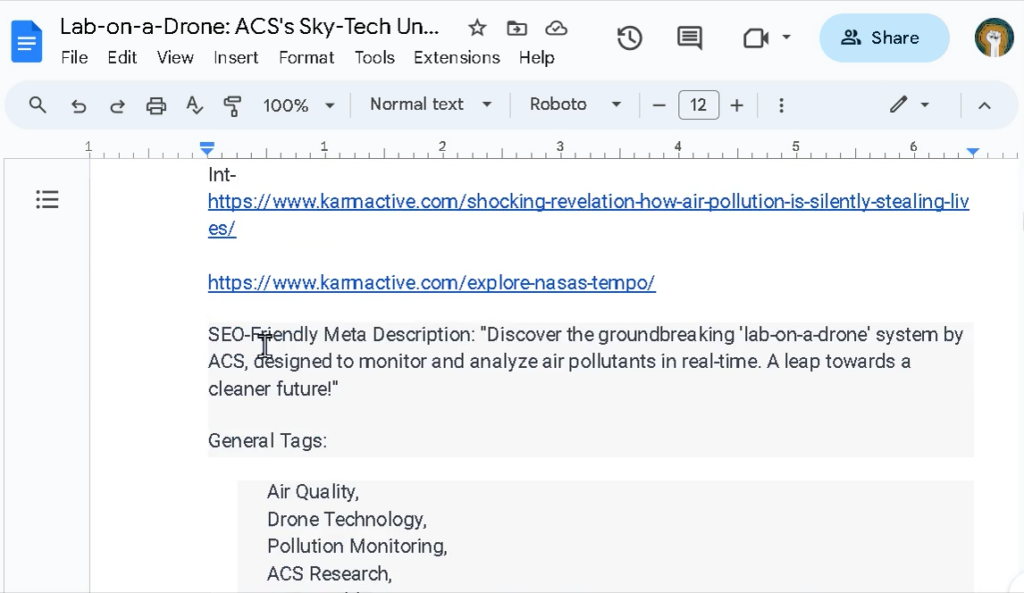
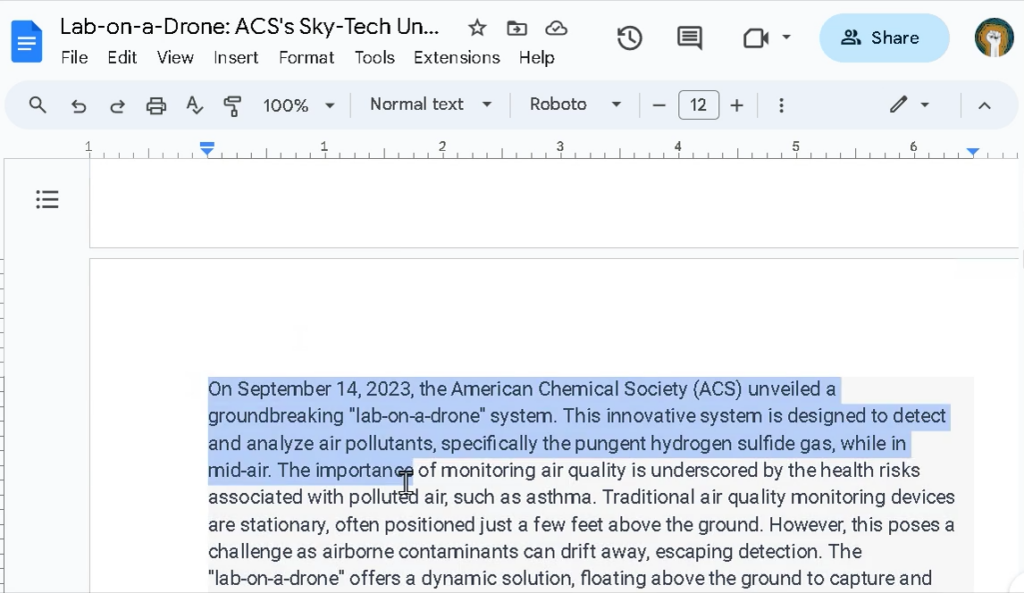
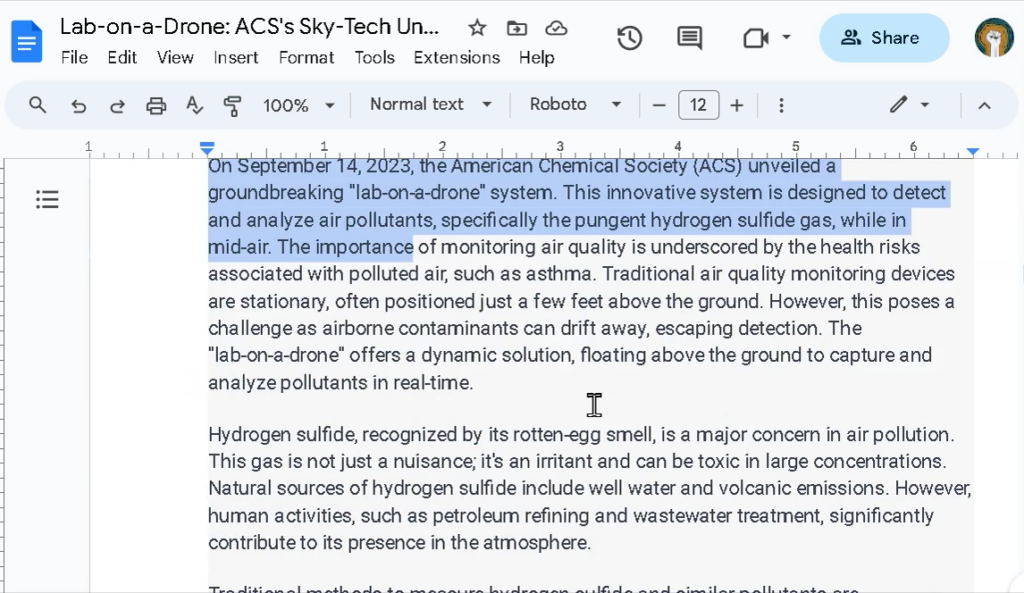
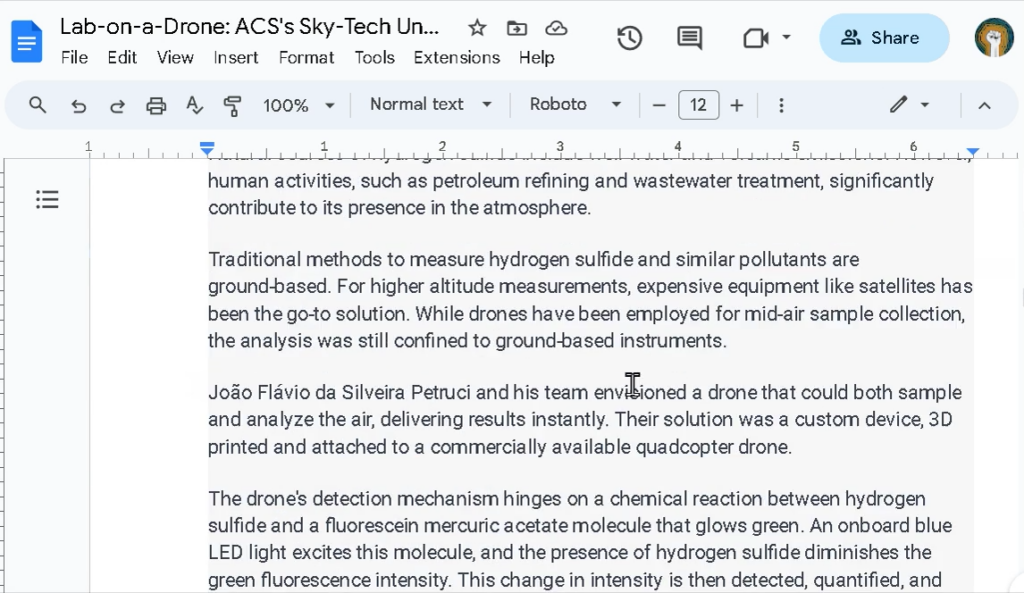
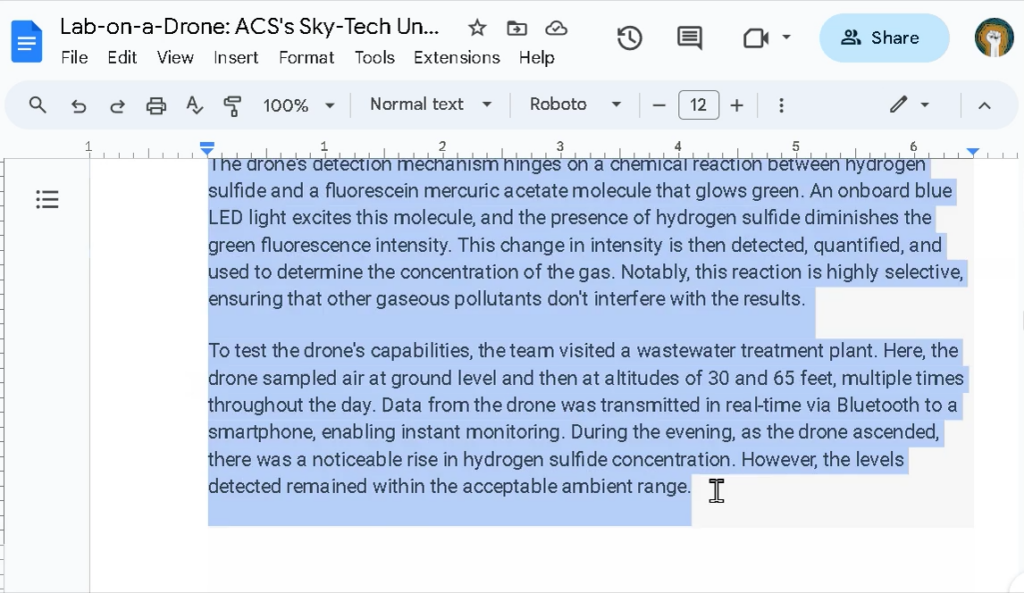
- Now enter the content of your article in the main text editor by pasting.

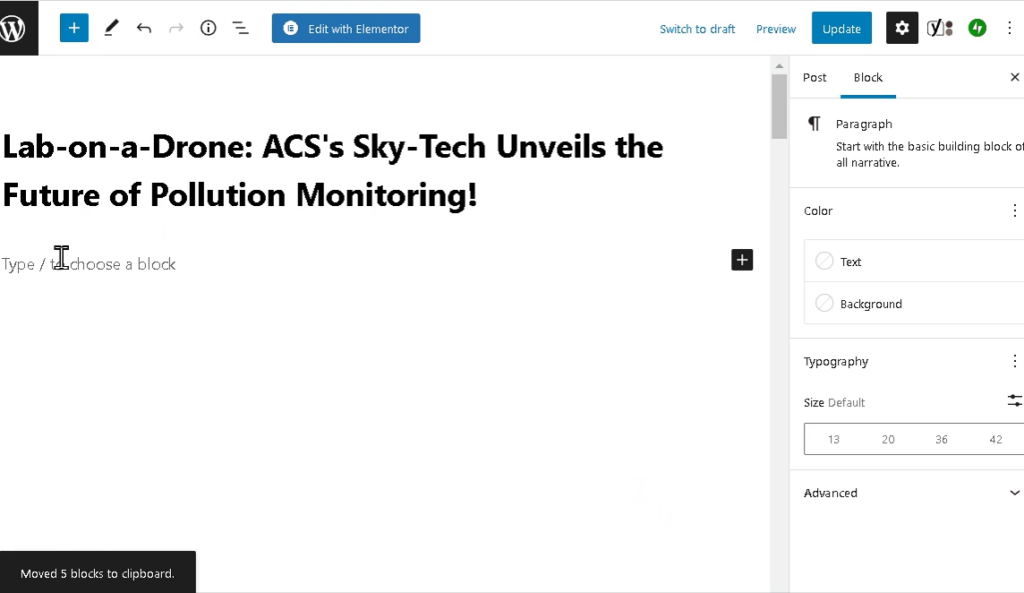
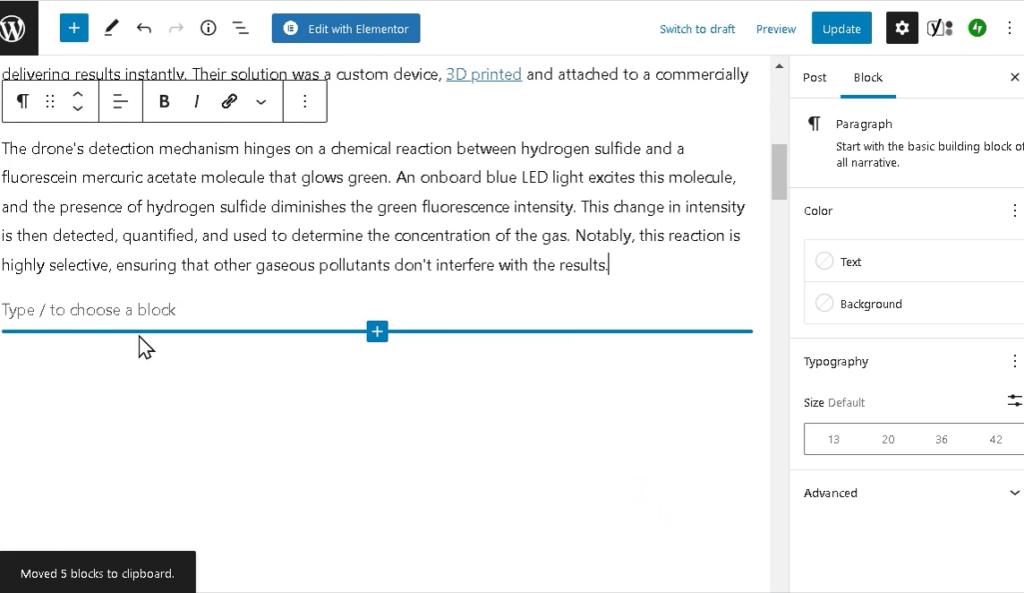
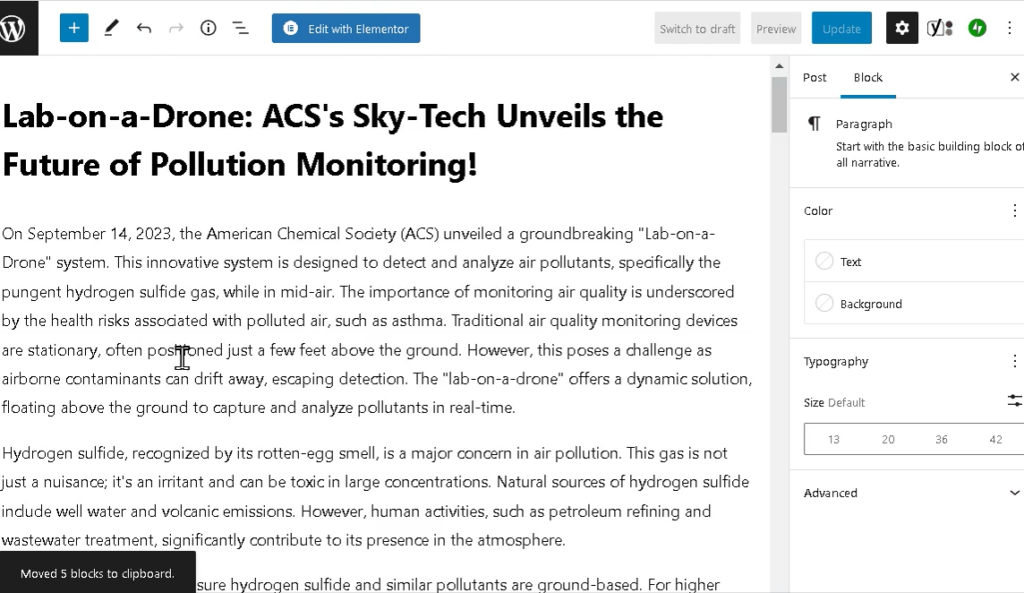
3. Setting Up the Given External (Outbound) Links and Internal Links:
External (Outbound) Links:
Definition: Links that point from your website to another website.
Purpose: They can provide references, direct users to related resources, or cite sources. They can also be used for affiliate marketing or promotional purposes.
- Find the external links from the given doc and copy, one at a time.
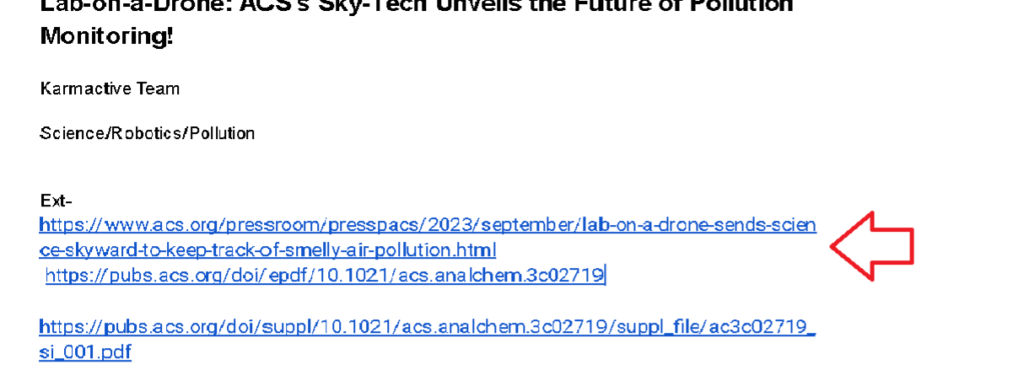
- Find relevant word to set up the external link

- Click on the Link Icon: Most editors have a chain link icon in the toolbar. Click on it.
- Paste the link over the relevant word and look for an option like “Open link in a new tab” or “Open link in a new window” and check it.

Internal Links:
Definition: Links that point to another page on the same website.
Purpose: They help in website navigation, establish information hierarchy, and distribute “link equity” around the site. They also guide users to relevant content and can aid in SEO by helping search engines understand site structure.
- Find the internal links from the given doc and copy.

- Find relevant word to set up the internal link and set it up the same way you setup external link.

Note- Please do the same even in case of multiple external and internal links
4. Now Lets Complete the SEO Configuration
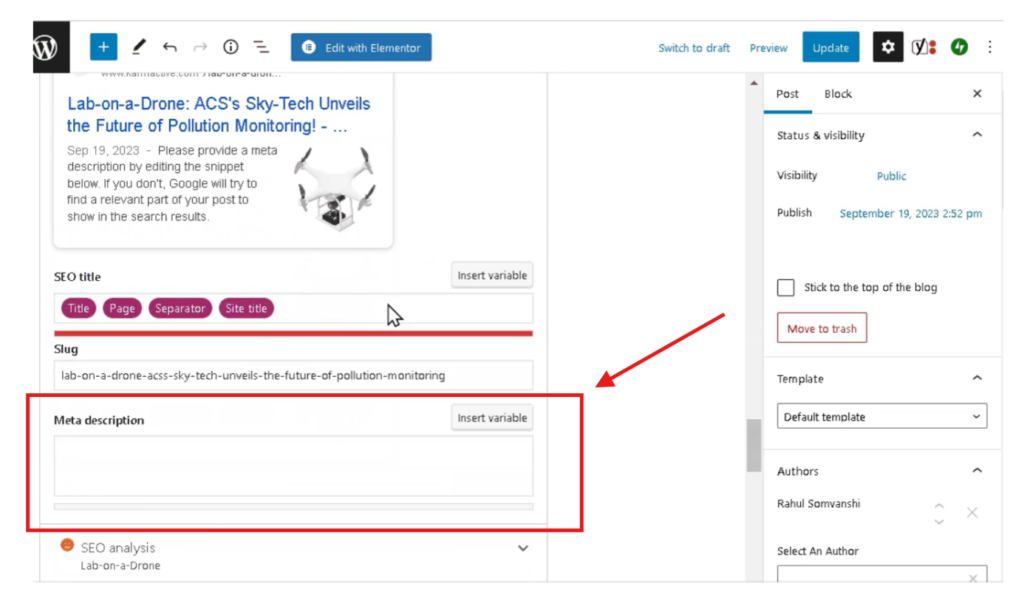
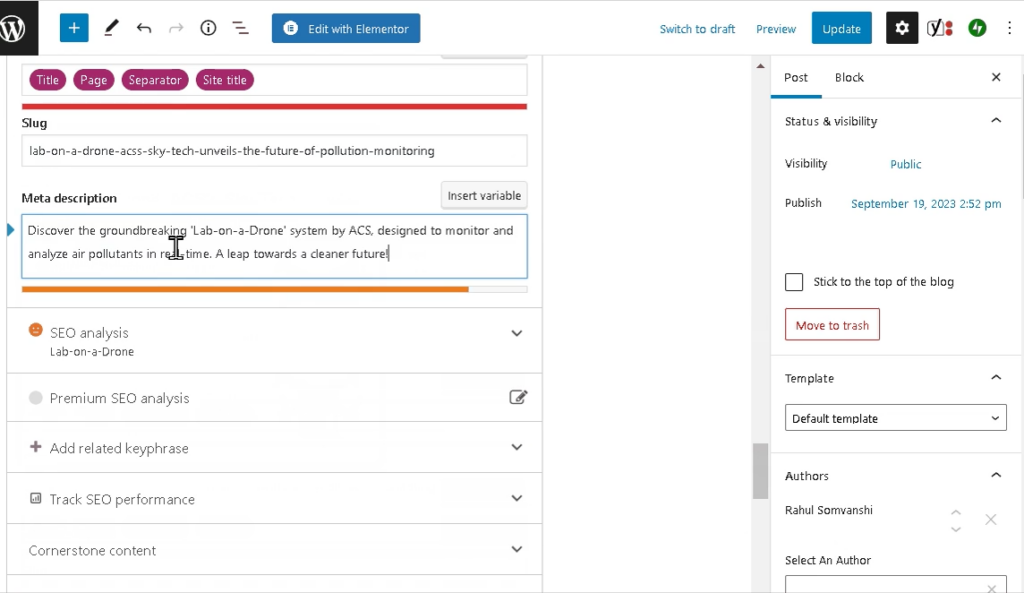
Meta Description:
Definition: A brief summary (usually up to 160 characters) of a webpage’s content.
Purpose: It provides a concise overview of the page’s content in search engine results. A well-written meta description can entice users to click on your link.
- Find the Meta Description in the given doc and copy.

- Now find the empty Meta box in the SEO section and paste the description the box.
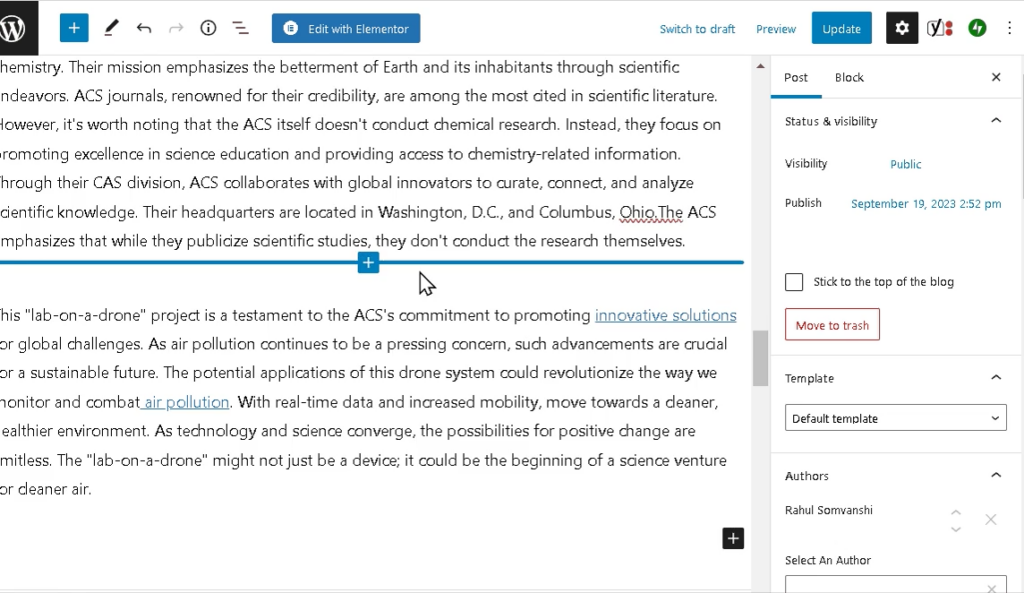
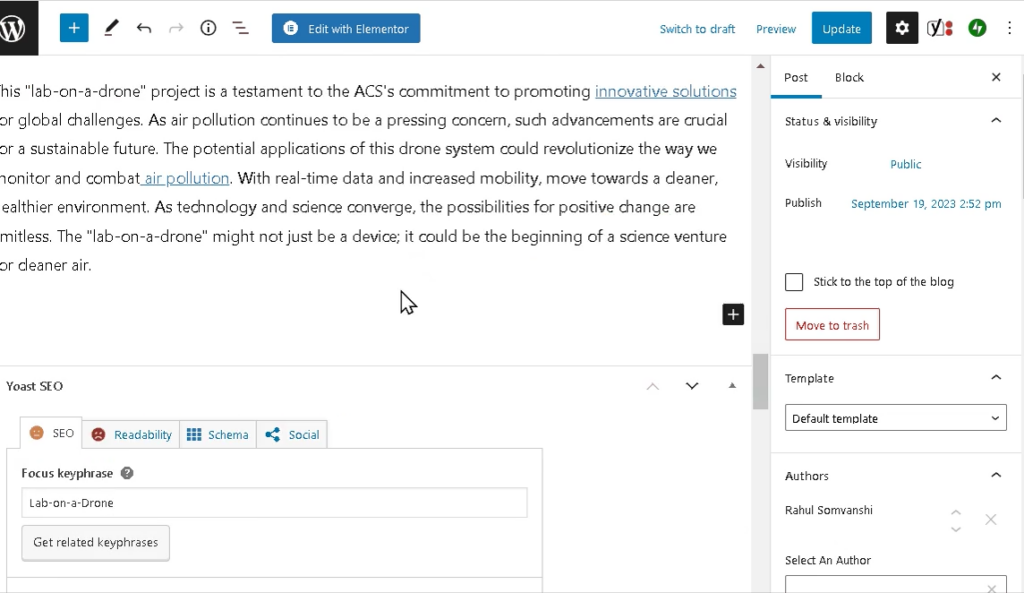
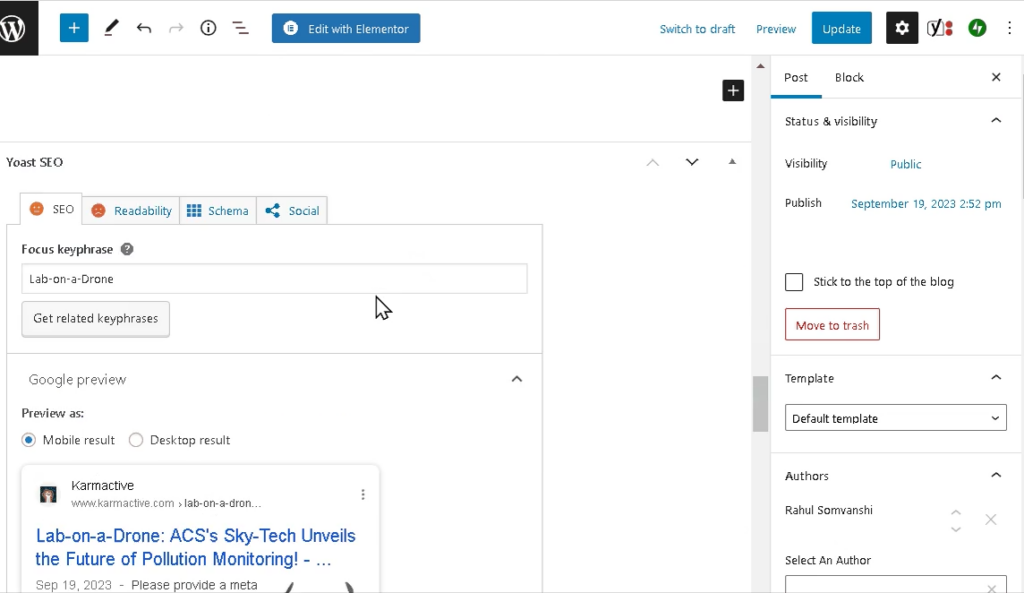
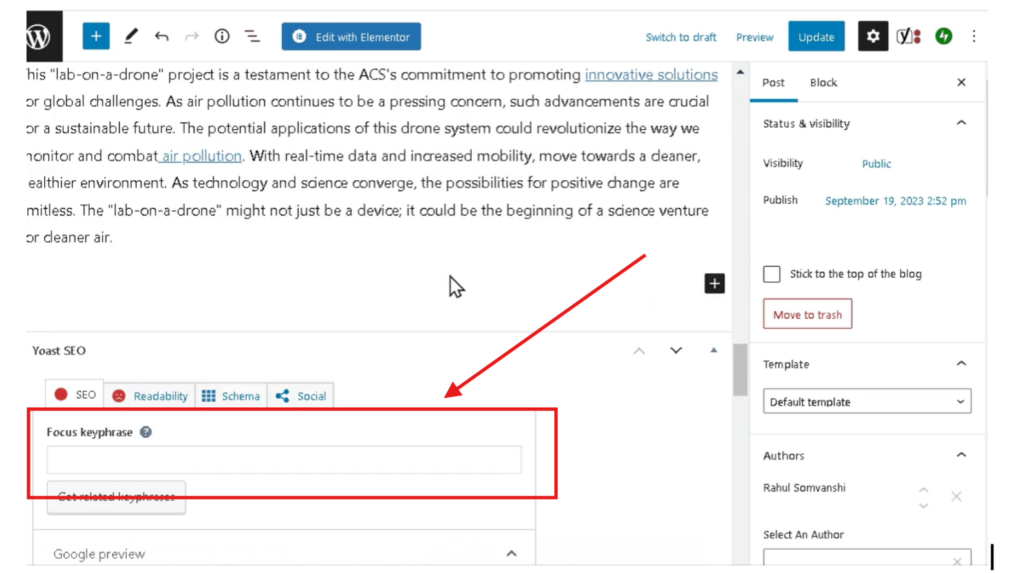
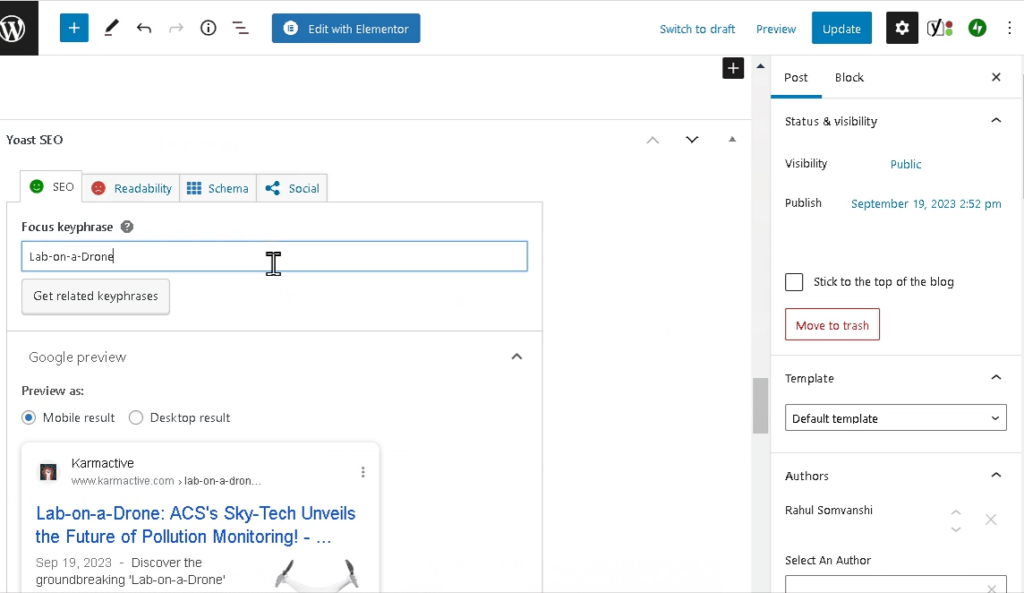
Focus Keyphrase:
Definition: A specific word or phrase that you want your content to rank for in search engines.
Purpose: It guides SEO efforts by highlighting the main topic of the content. Optimizing content around a focus keyphrase can improve its visibility in search engine results for that term.
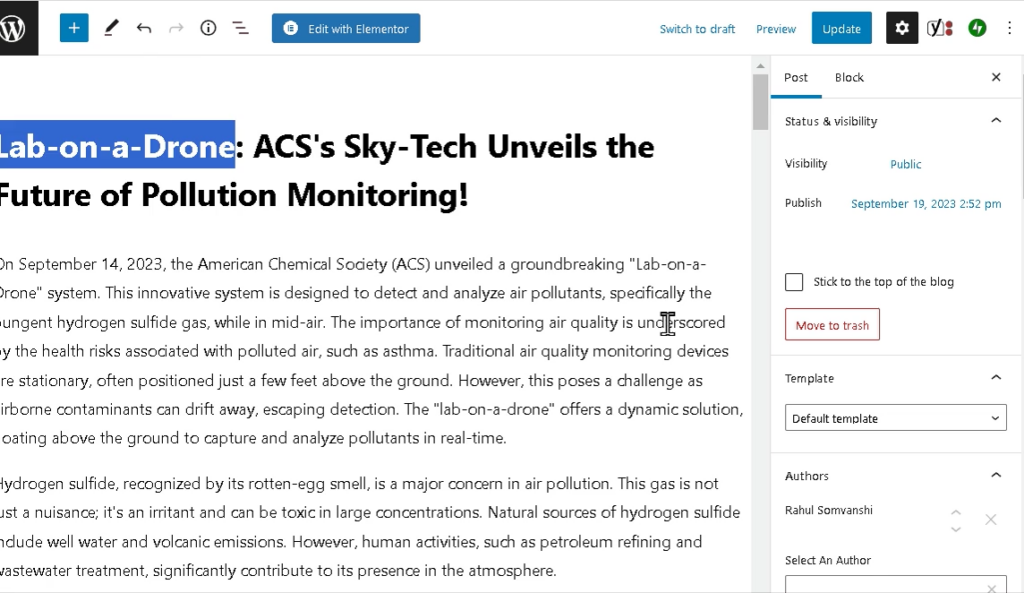
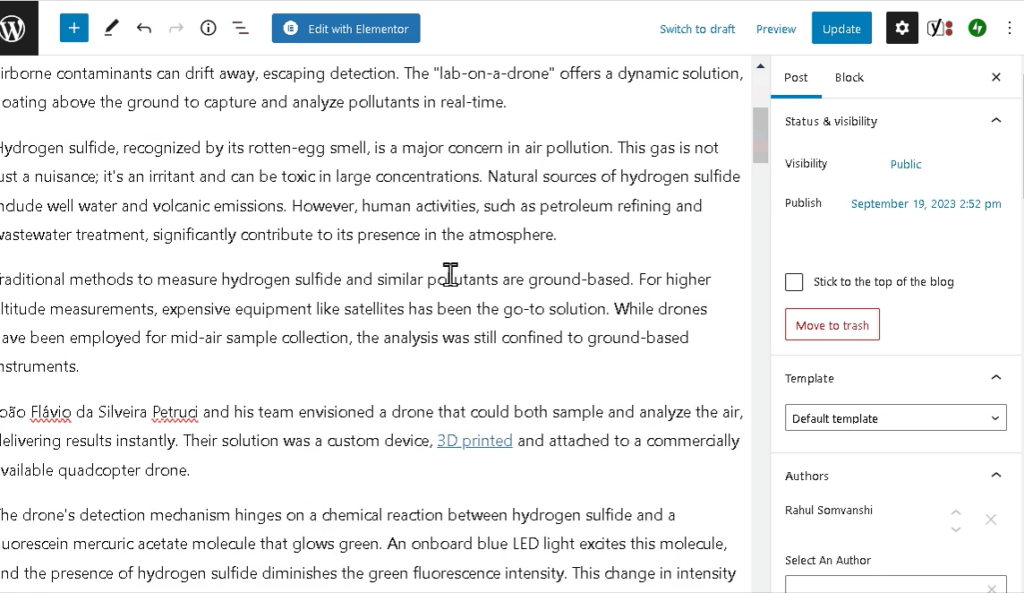
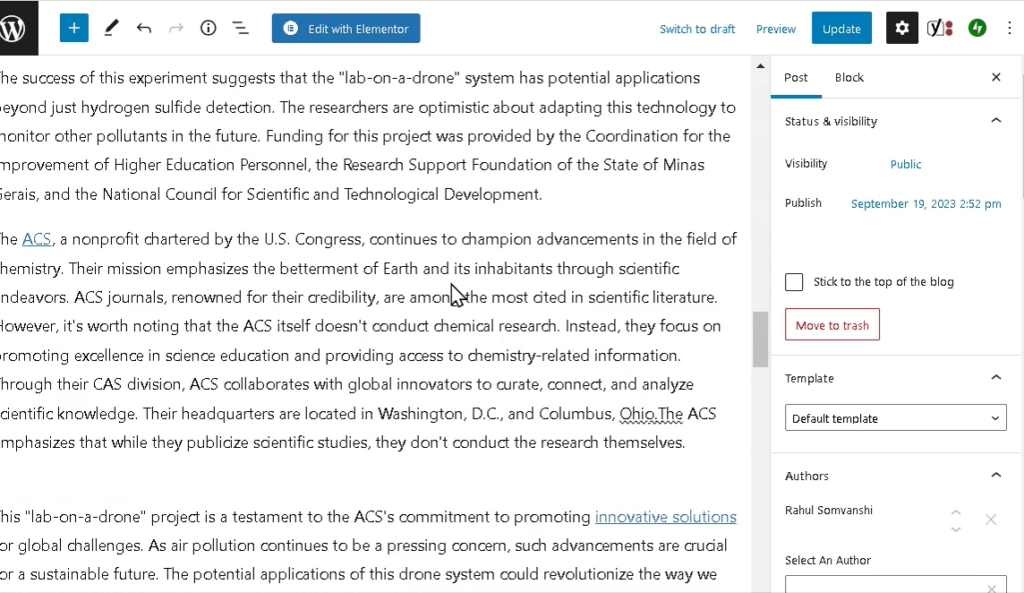
- Enter your focus keyword or keyphrase. This is the main keyword you want your article to stand out for. Keyphrase should be present in your title, meta description and main article body and shouldn’t be more than 4 words.
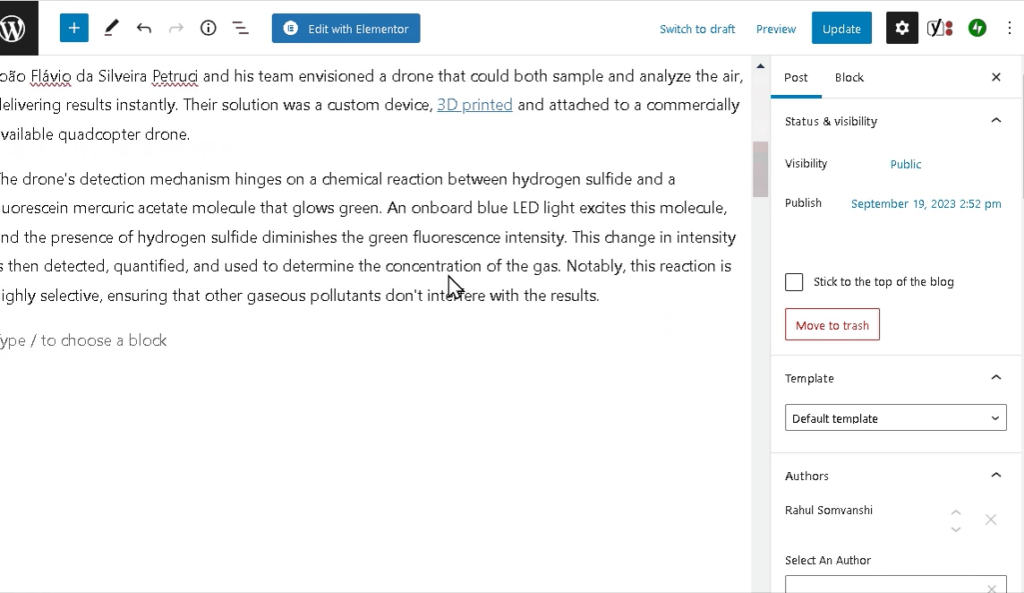
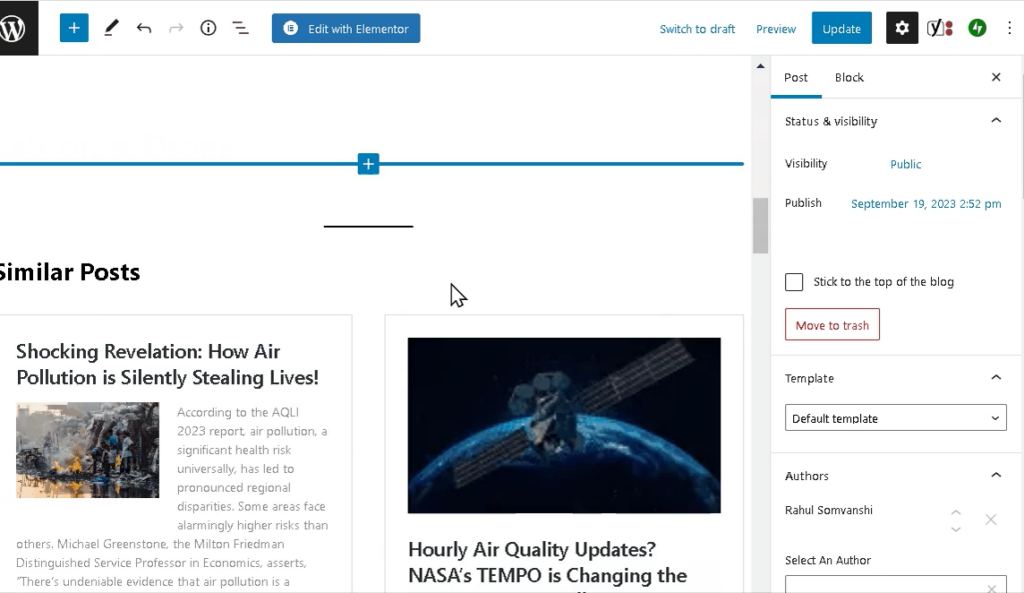
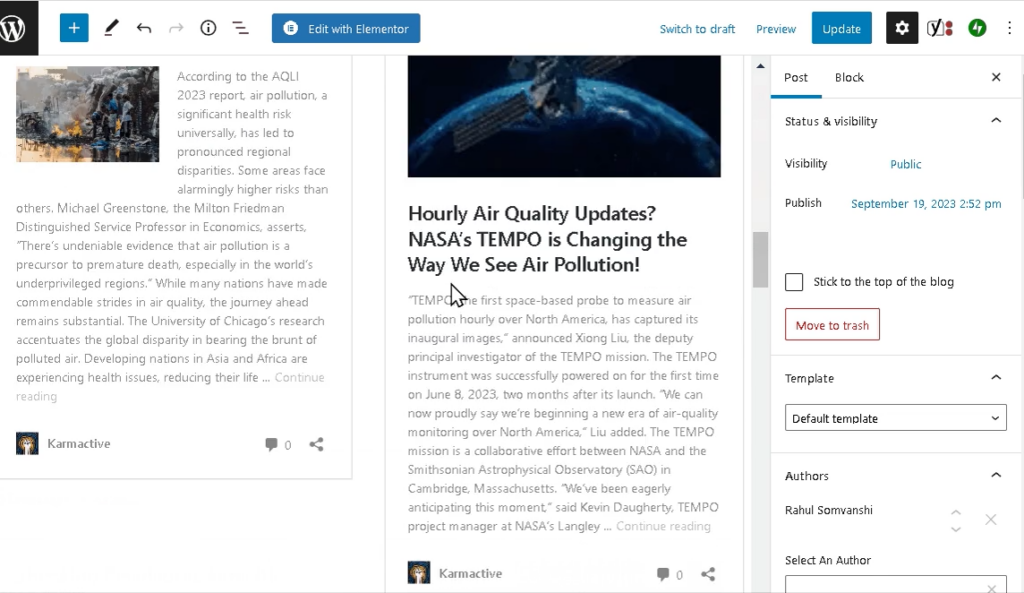
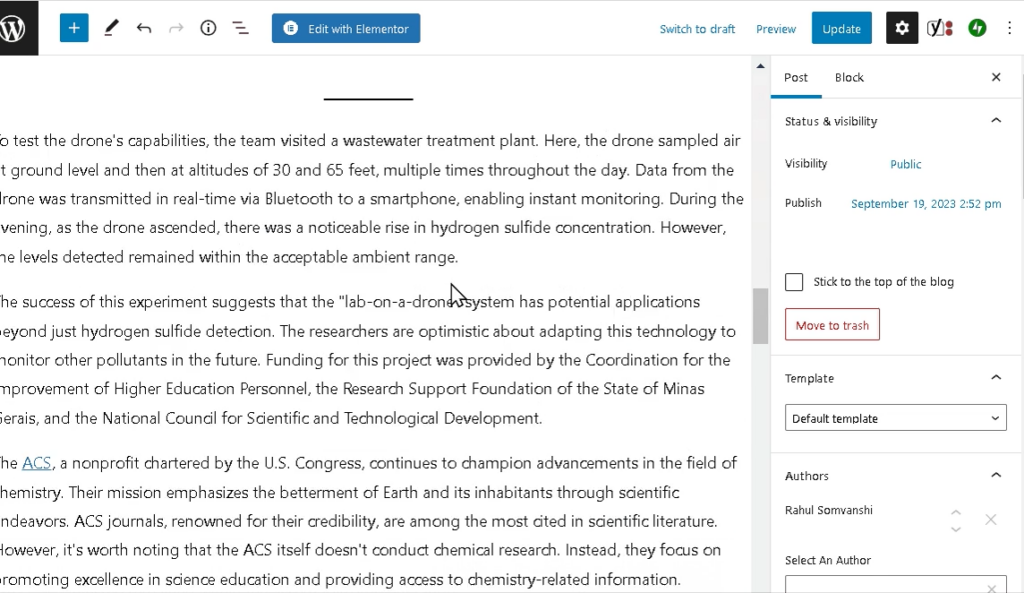
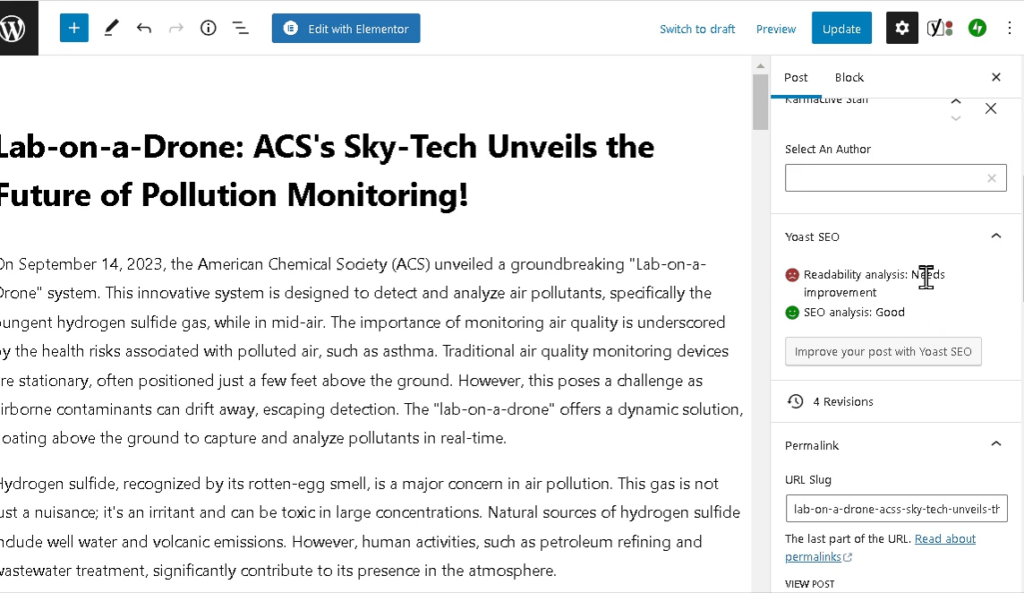
5. Now lets Setup The Author’s Names Correctly
- Now find the name of the author in the given doc.

- Now paste it in the authors section and select the suggested author profile.
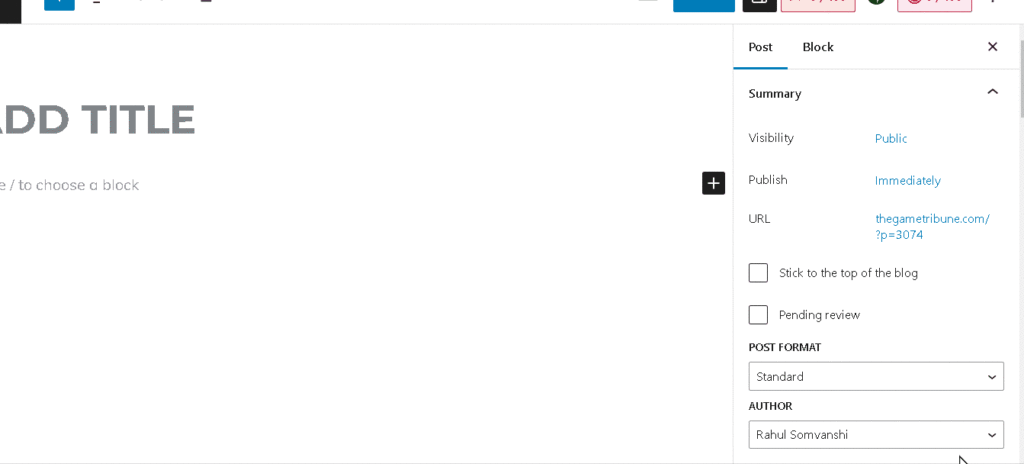
- Remove the default author name if it is isn’t mentioned in the given doc.

6. Now lets Feed in the Correct Categories
Categories:
Definition: Broad topics or sections under which content on a website can be grouped.
Purpose: They help organize content on a website, making it easier for users to find related posts or articles. Categories are especially useful on blogs or news sites.
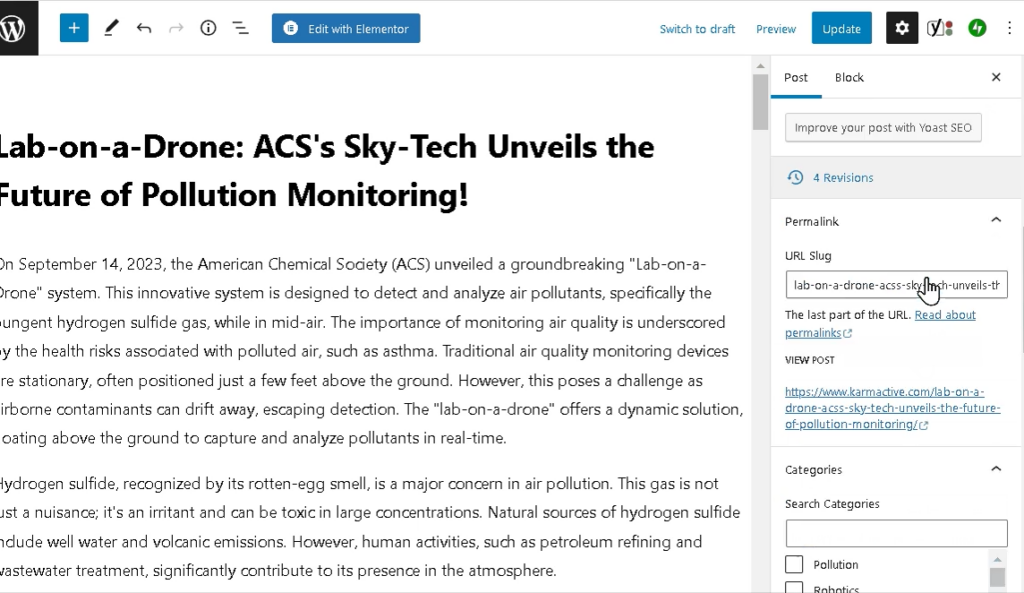
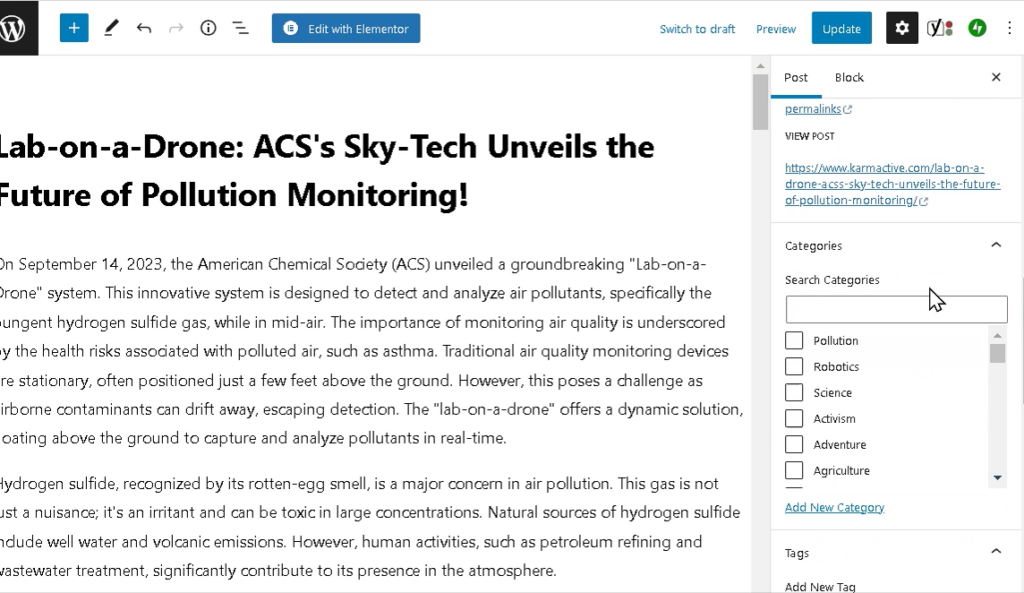
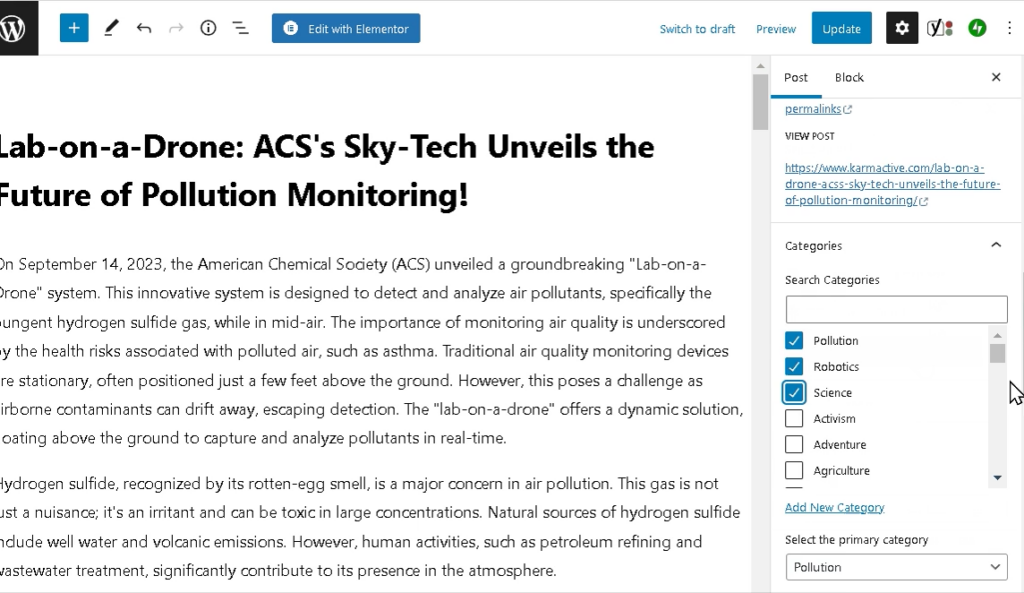
- Find the correct categories in the given doc.

- Now tick the correct categories in the category section
7. Let us correctly feed in the tags
Tags:
Definition: Specific keywords or phrases associated with a piece of content.
Purpose: They provide a more granular way to organize and link related content. Unlike categories, which are broad, tags can be very specific.
- Find the tags in the given doc, separate them with commas and copy.

- Now find the tags field in the WordPress’s new post tab and paste the tags.
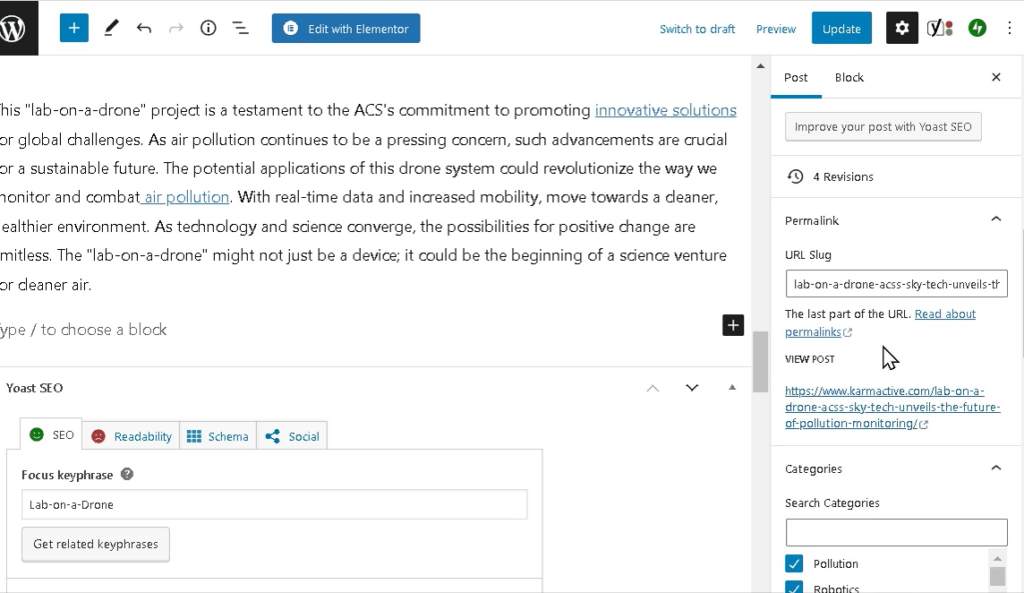
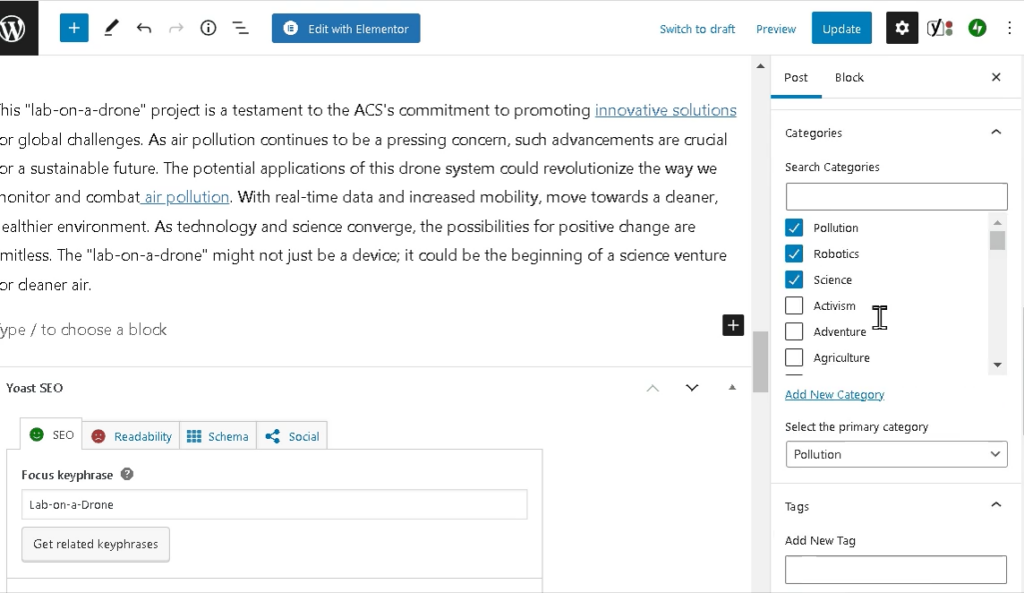
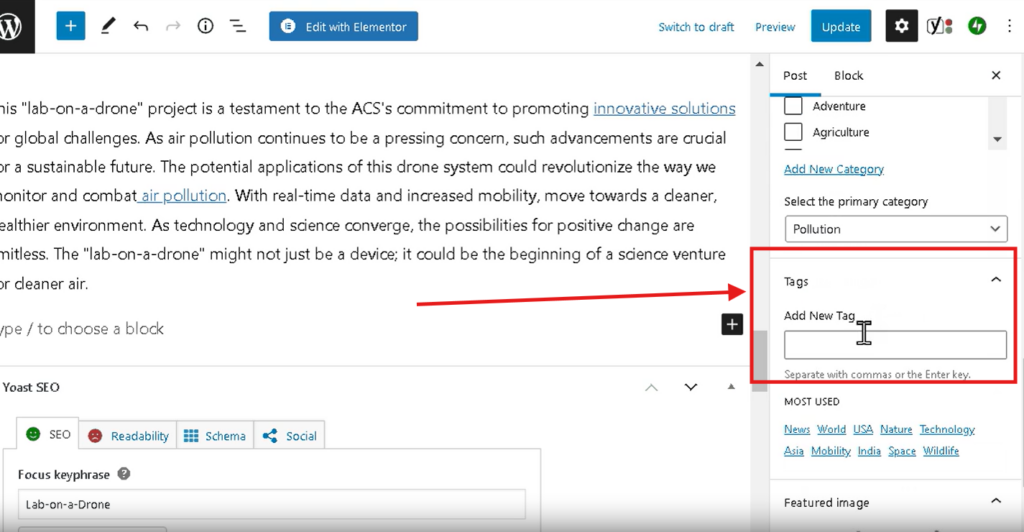
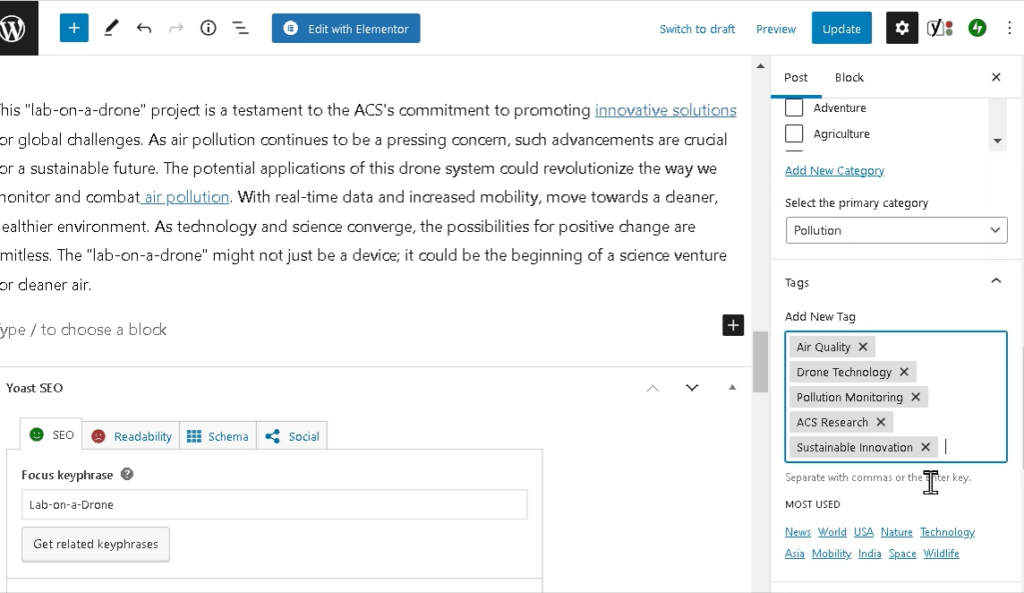
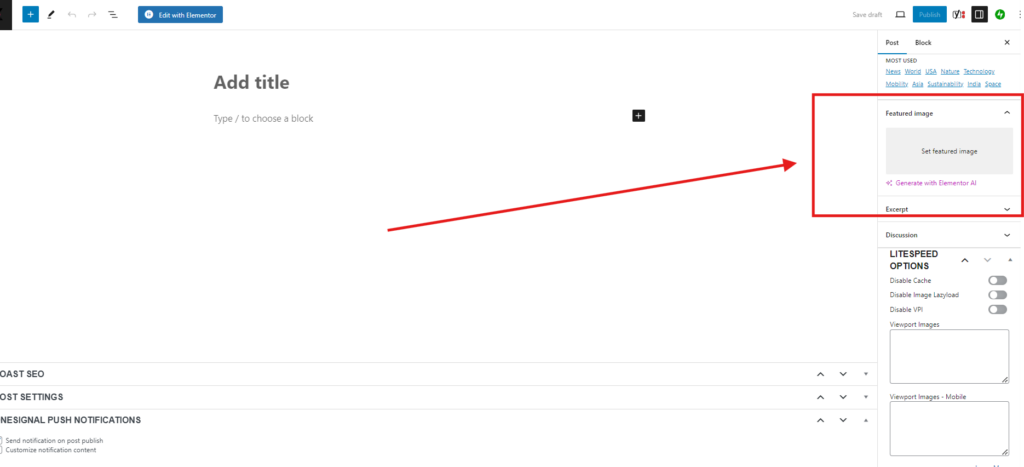
7. Now Let us Setup the Feature Image.
- Find the link for the feature image in the given doc.
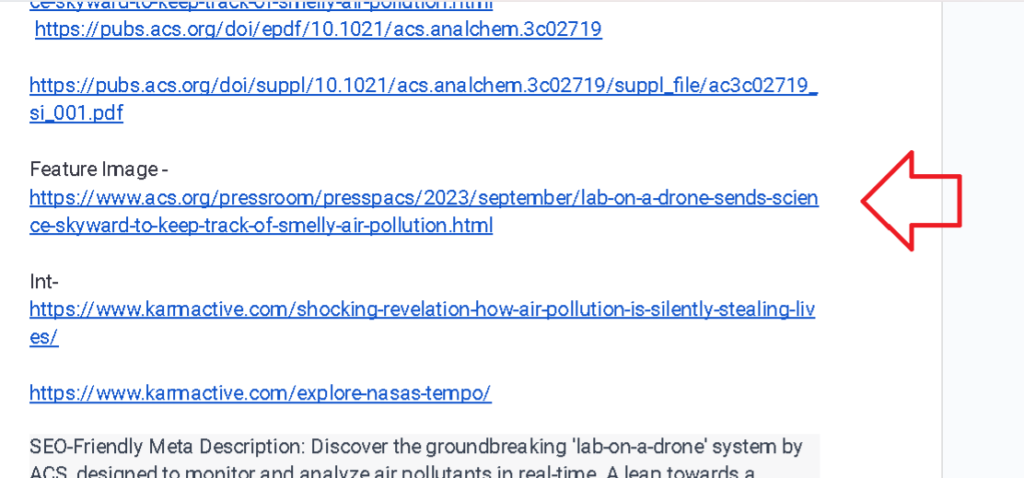
- Open the feature image and download the feature image.
Note: Please Ask your colleague if you have any doubts
- Now find the feature image section on WordPress’s new post tab and upload the feature image.
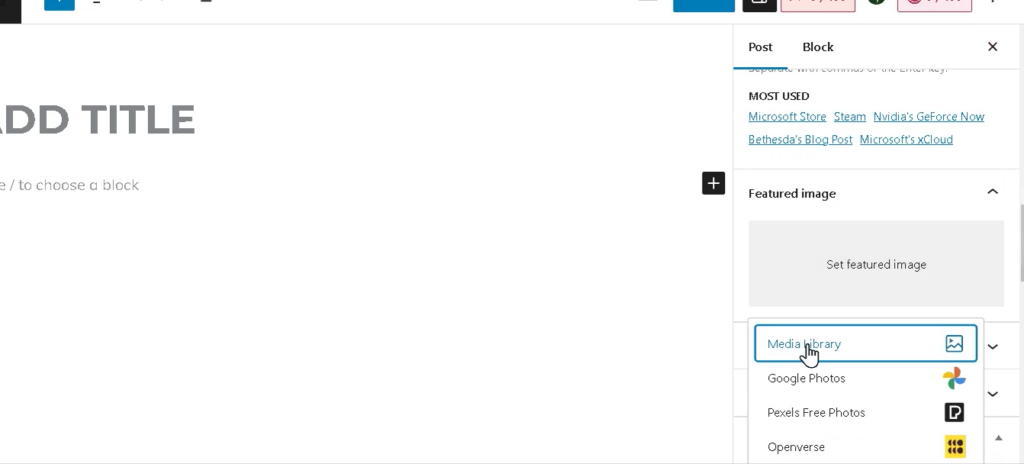
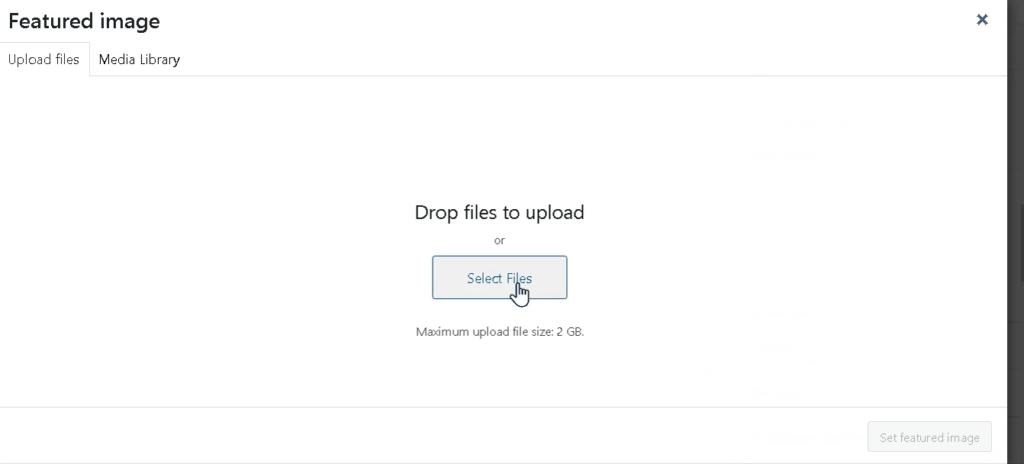
- Once the image is uploaded, just put in relevant description in the alt text section and appropriate credits in the caption.
Image Alt Text:
Definition: A text description for images on a webpage.
Purpose: It improves website accessibility, as screen readers use this text to describe images to visually impaired users. It also helps search engines understand the content of the image, which can aid in image search optimization.
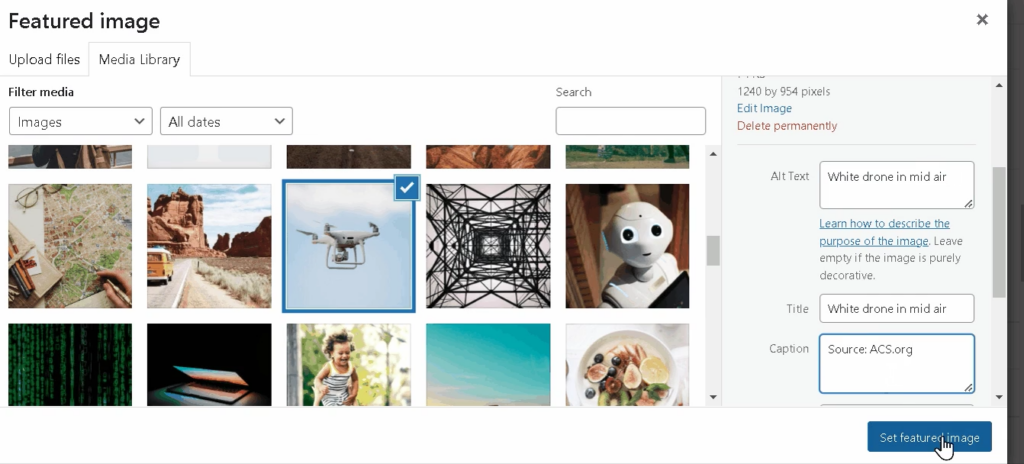
Caption Credits:
Definition: A brief description or acknowledgment placed below an image or multimedia element.
Purpose: Captions provide context or additional information about the image, while credits acknowledge the source or creator of the image. They ensure proper attribution and can also enhance user understanding.
Guide:
When adding captions and alt text to images in an article, especially on a platform like WordPress, it’s important to be clear, descriptive, and considerate of SEO best practices. Here’s a guide to help you:
Caption
Purpose:
- Enhances the reader’s understanding of the image.
- Provides additional context or information related to the image or the article’s content.
How to Write:
- Descriptive: Briefly describe what’s happening in the image.
- Relevant: Relate the caption to the article’s content.
- Engaging: Make it interesting or informative to add value for the reader.
Example: If the article is about Joshua Dobbs’ performance, and the image shows him throwing a pass during a game, the caption could be: “Joshua Dobbs executing a precision pass during the Vikings’ recent game.”
Alt Text (Alternative Text)
Purpose:
- Improves accessibility for people using screen readers.
- Helps with SEO as search engines index this text.
- Displays in place of an image if the image file cannot be loaded.
How to Write:
- Concise Description: Clearly describe what’s in the image.
- Keywords: Include relevant keywords for SEO, but avoid keyword stuffing.
- Avoid Redundancy: Don’t just repeat the caption or title; offer a new description.
Example: Using the same image of Joshua Dobbs, the alt text could be: “Minnesota Vikings quarterback Joshua Dobbs in action, throwing a pass during an NFL game.”
Crediting Images
How to Credit:
- Photographer/Creator’s Name: Always credit the image source or photographer.
- Source (if applicable): Mention the source, especially if it’s from a stock photo website or a media outlet.
- License Information (if applicable): Include license details if the image is under a specific license (like Creative Commons).
Where to Place Credits:
- In the caption (after the descriptive text).
- In the image metadata in WordPress (there’s usually a field for credits).
Example: “Joshua Dobbs executing a precision pass during the Vikings’ recent game. Photo by John Doe/Getty Images.”
General Tips
- Consistency: Be consistent in style and formatting across all images in your articles.
- Compliance with Laws: Ensure you have the right to use the image and are complying with copyright laws.
- SEO: Use relevant keywords in both captions and alt text, but ensure they are used naturally.
8. Now that your post is ready to be published, just have a final check in the preview section.

9. After the final check please publish your post
Congratulations on successfully navigating through the steps of publishing an article with the Karmactive Team! This guide is your go-to resource for ensuring each post meets our standards and reaches our audience effectively. Remember, every post you publish contributes to our brand’s voice and reputation. If ever in doubt, don’t hesitate to reach out to a colleague. We’re a team, and we’re here to support each other. Happy publishing, and welcome aboard!
