
Web stories have emerged as an engaging and interactive way to present content on the web, especially for mobile users. They offer a visually appealing format that’s easy to consume, making them a popular choice for many content creators. If you’re using WordPress, creating a web story is straightforward, but there are specific steps to ensure your story is both captivating and accessible. This guide will walk you through the process of creating a supplementary web story for your post, from gathering imagery to the final publishing steps. Whether you’re a seasoned WordPress user or a beginner, this step-by-step tutorial will help you craft a compelling web story for your audience.
Once you have published the post successful we begin our Next stage of creating a supplementary web-story for the post. Keep your given post doc open so that we can use the given content.
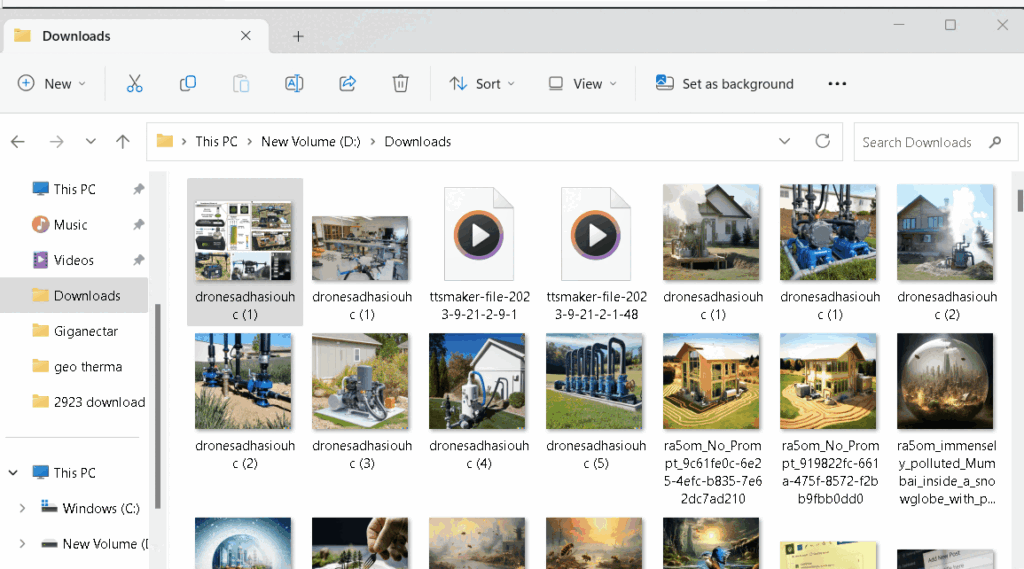
1. Lets collect and upload the required imagery
- Before we begin creating a web story we need to upload required imagery.
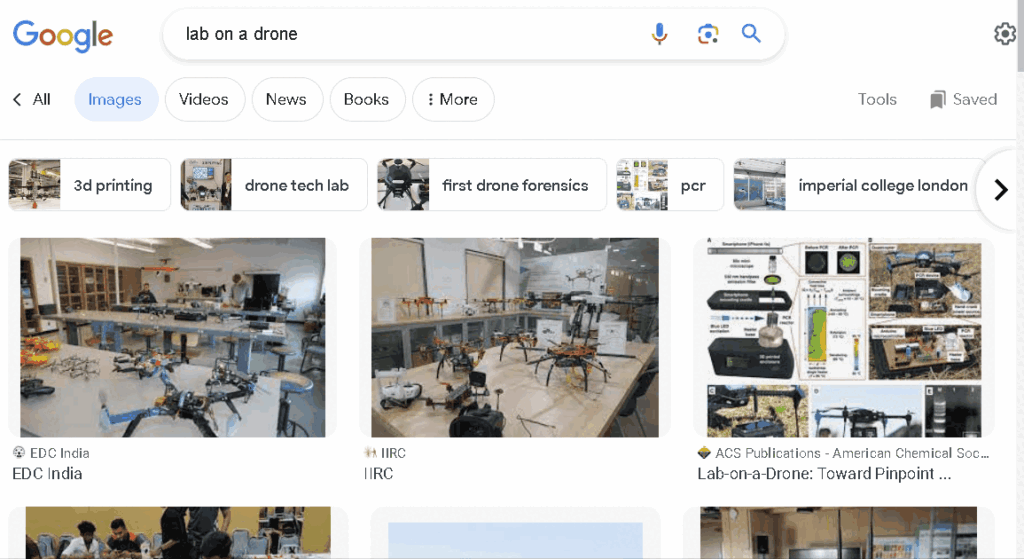
- Find the key sentences in the given doc and click on the given link
- After the link opens in your browser download 8-9 images as per the number of key sentences. Remember to wait for images to load before downloading and also avoid downloading thumbnails.
Note; Please contact your colleague if you have any doubts.
- Now select all the downloaded images and right click on your mouse to open the Properties>Details>Remove Properties and Personal Information>Remove the following properties from this file>select all> ok>ok
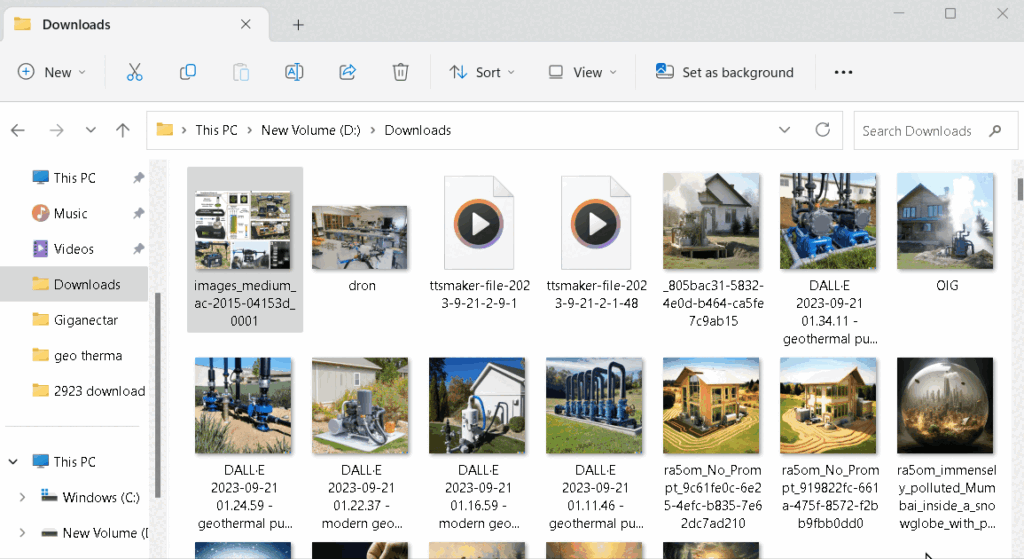
- Now select the images again and rename them together in a batch.
Note- Ask your colleague if you have any doubt
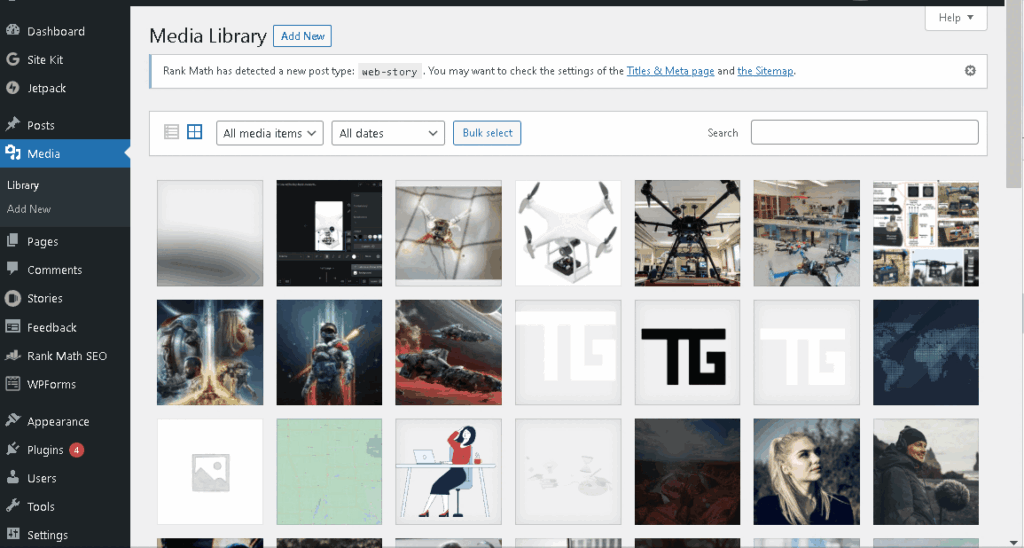
- Now open the WordPress dashboard in a new tab and find media section

- Now select images all the downloaded images and drag and drop them into your WordPress media section.
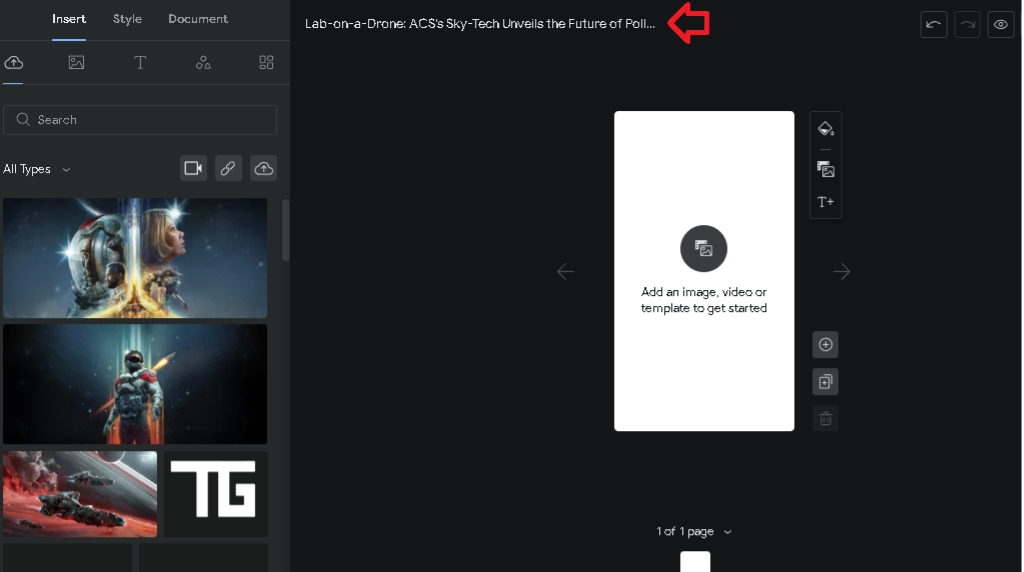
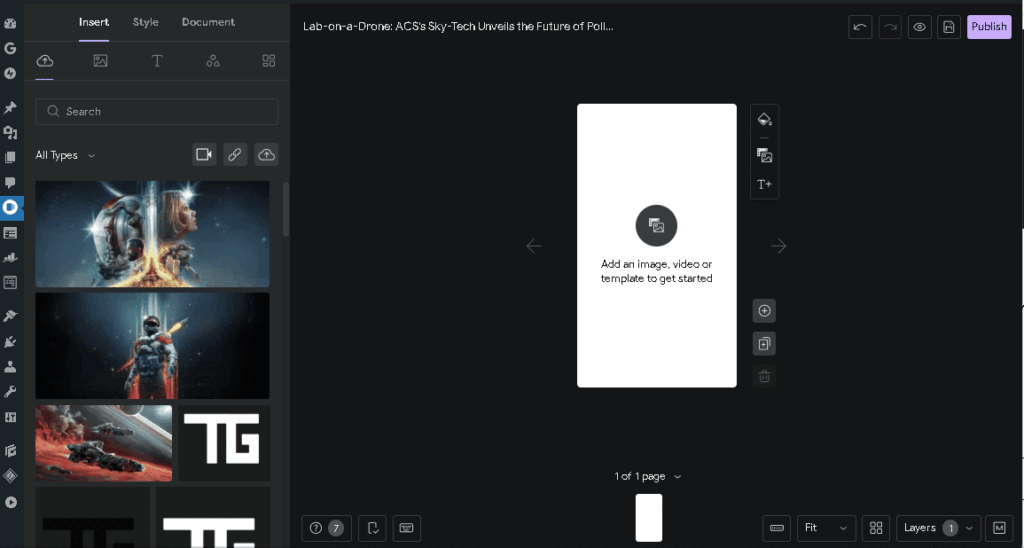
2. Begin Creating New Web Story:
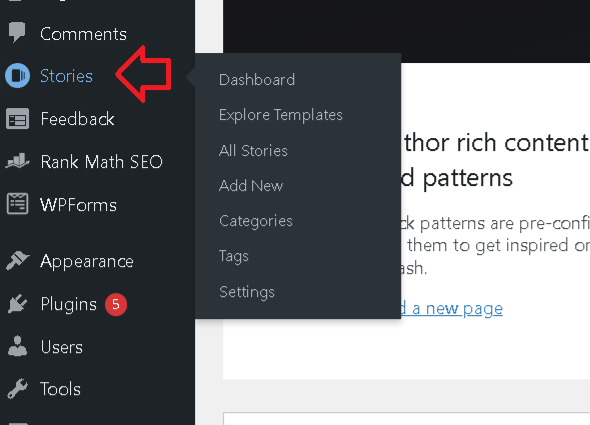
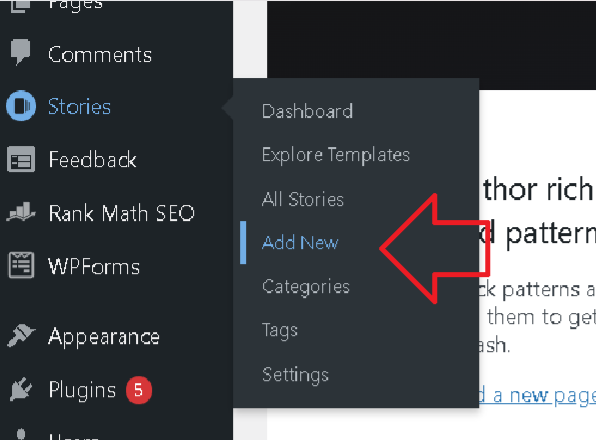
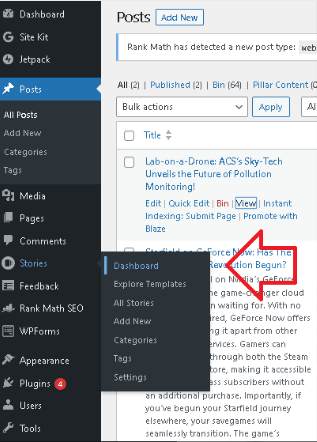
- While your images are uploading, click on “Stories” after you login into your WordPress dashboard> “Add New” to start creating your web story
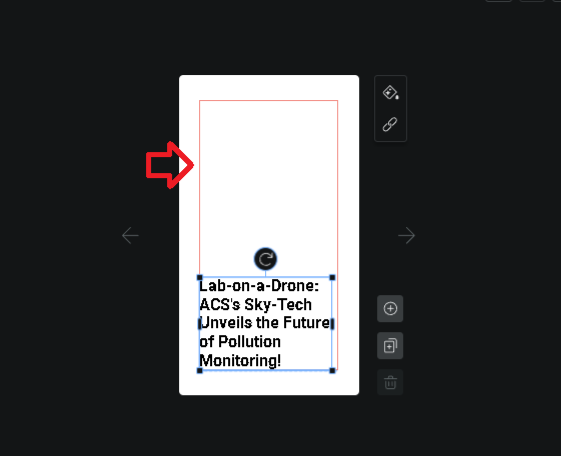
3. Add the title and feature image in the first page of your web story
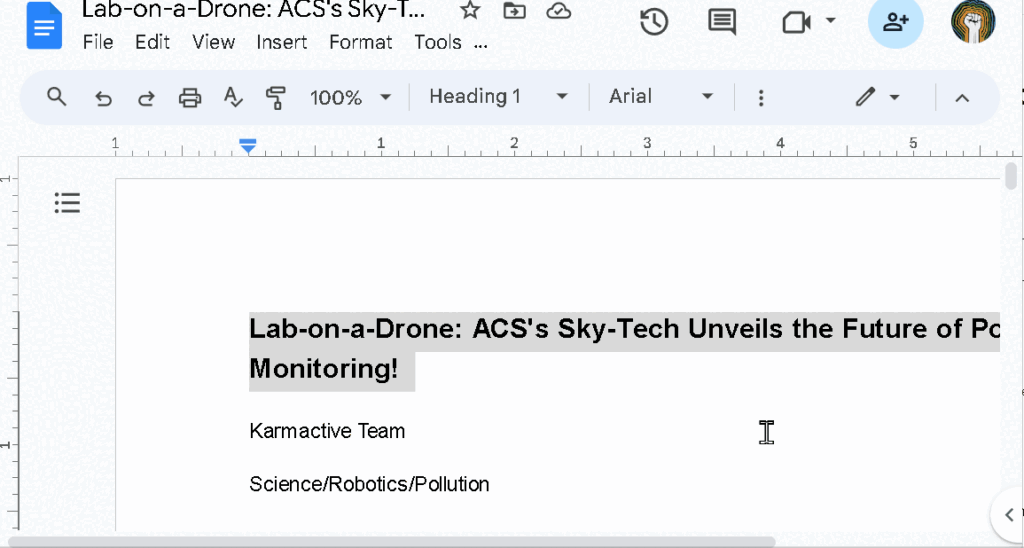
- Copy the title from your given doc and paste it in the title section
- Now lets insert title in the first page, go to insert in the top left corner and select Title 1 in text section.
- Paste the title and adjust it inside the red box. The red box is reference box, everything outside may not be visible to all the viewers
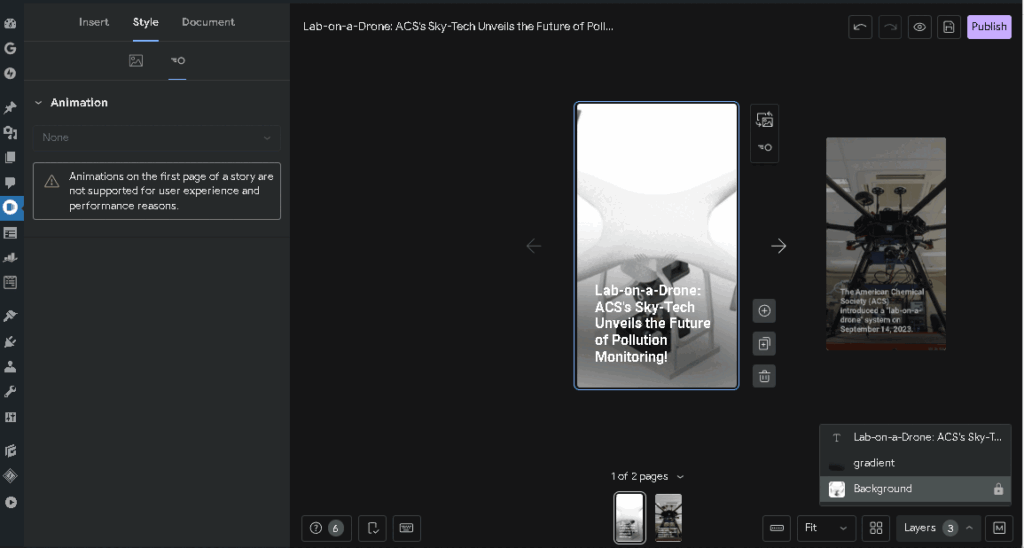
- Now again go into insert section and insert your feature image.

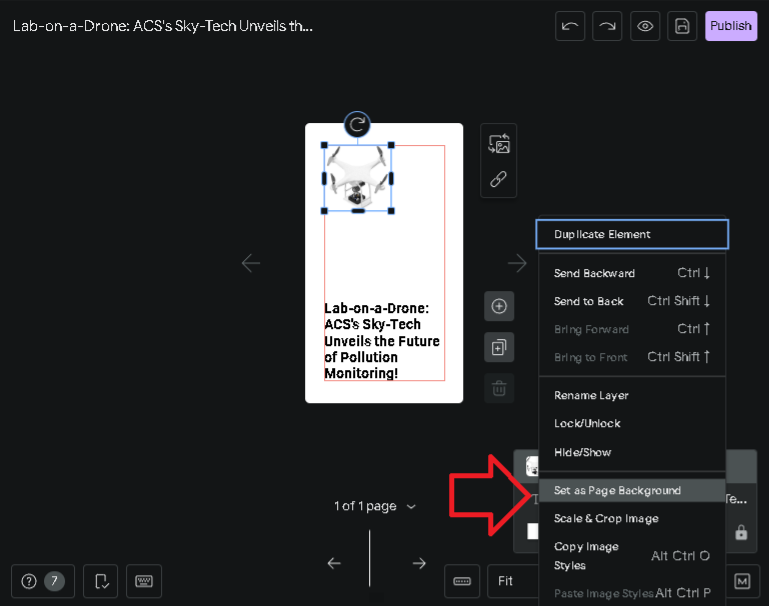
- After inserting image, go to layers and select the image’s layer.
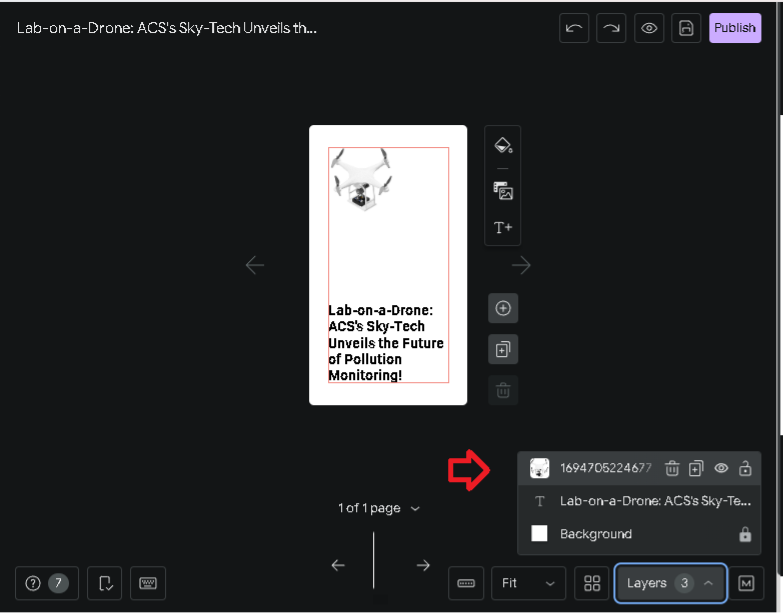
- Now right click on layer and set the image as background.
- Select image layer, right click and scale and crop to adjust the image for best visibility.
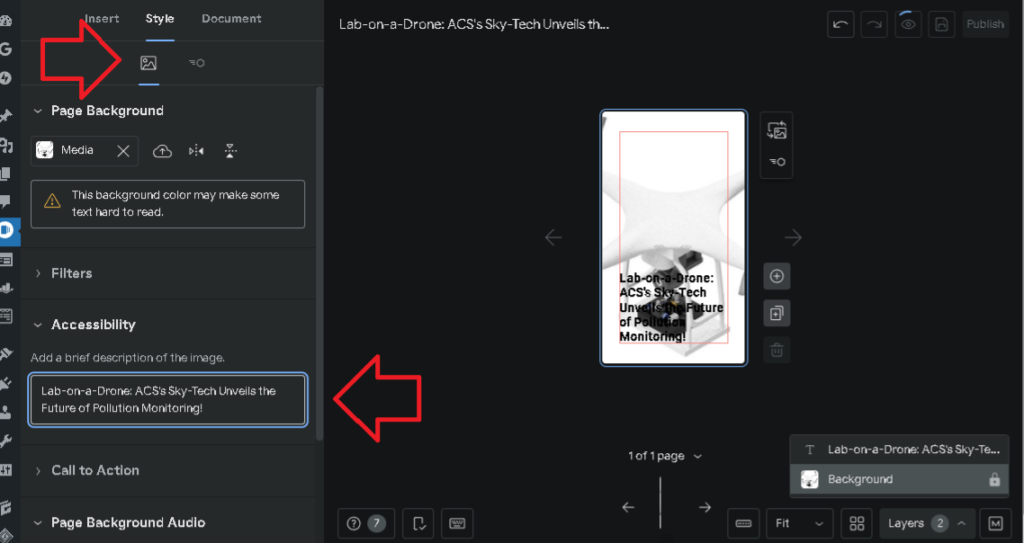
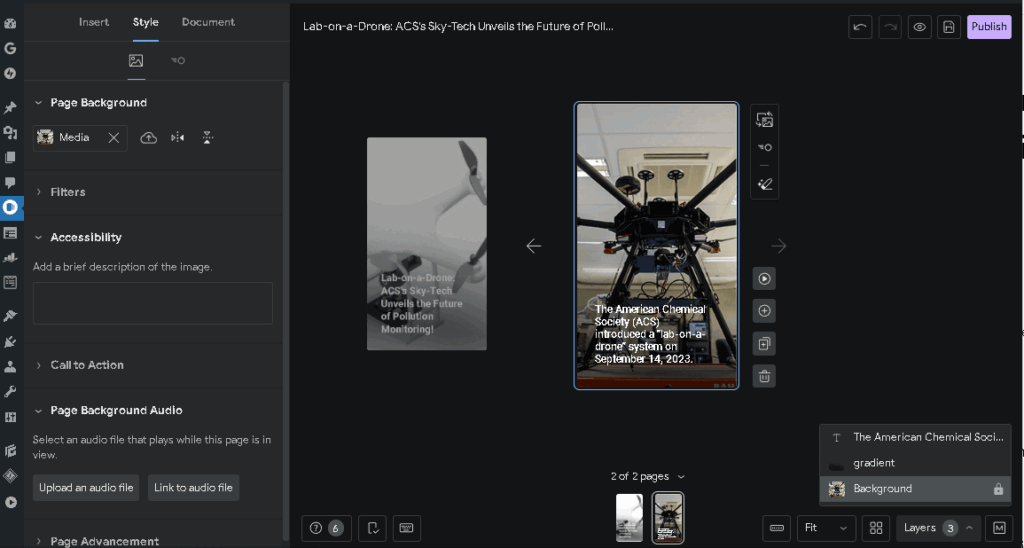
4. Setting Up Image Accessibility
- Select image layer, go to style in the left top corner>image>and paste the title in the accessibility section> close the section
5. Setting Up the Text Visibility
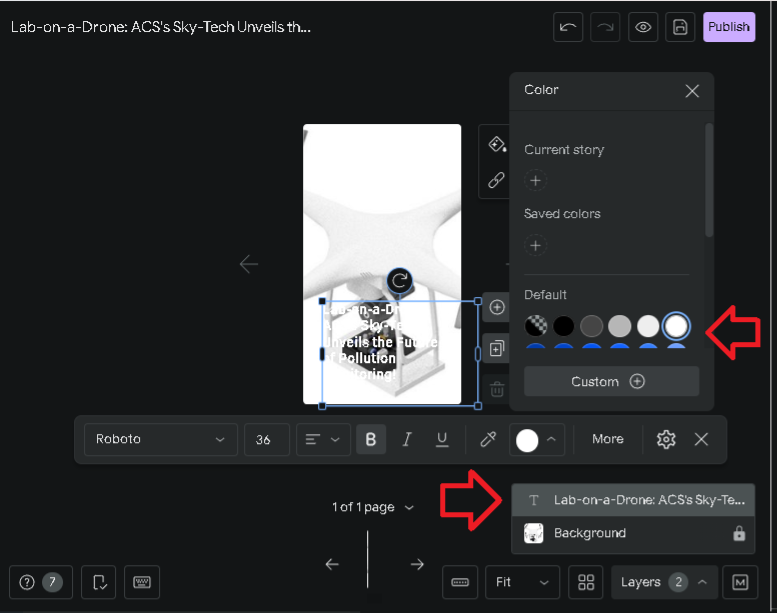
- We need to keep the text visible for easy reading. First select text layer and make the text color white.
- Now search from GRAD on the search bar in the insert image section and insert the gradient.
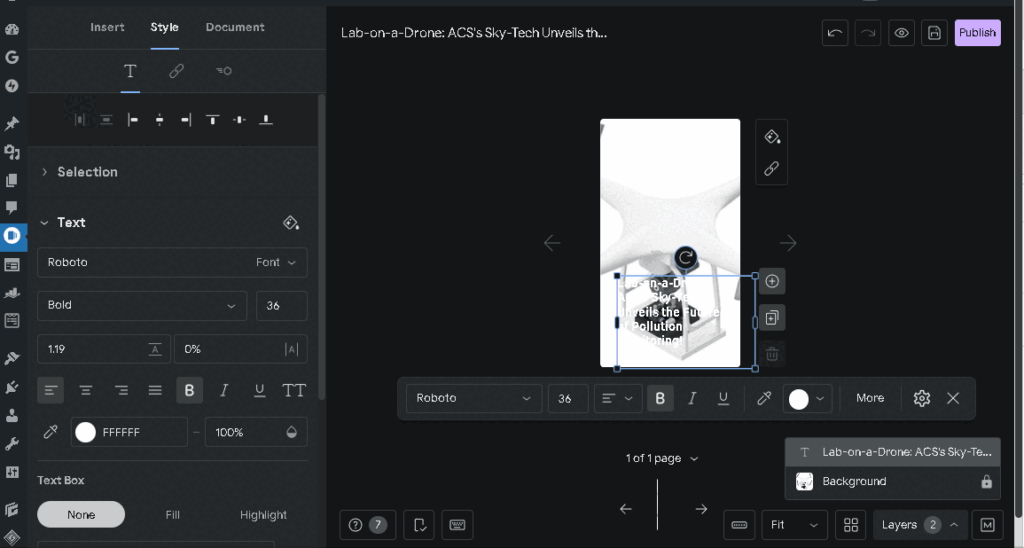
- After inserting it, adjust it it to fit the whole page and place the gradient layer under the text layer
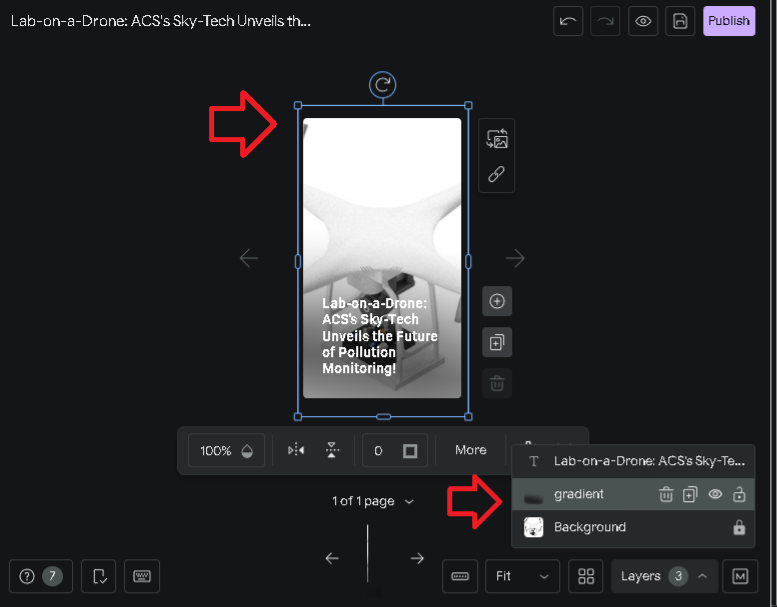
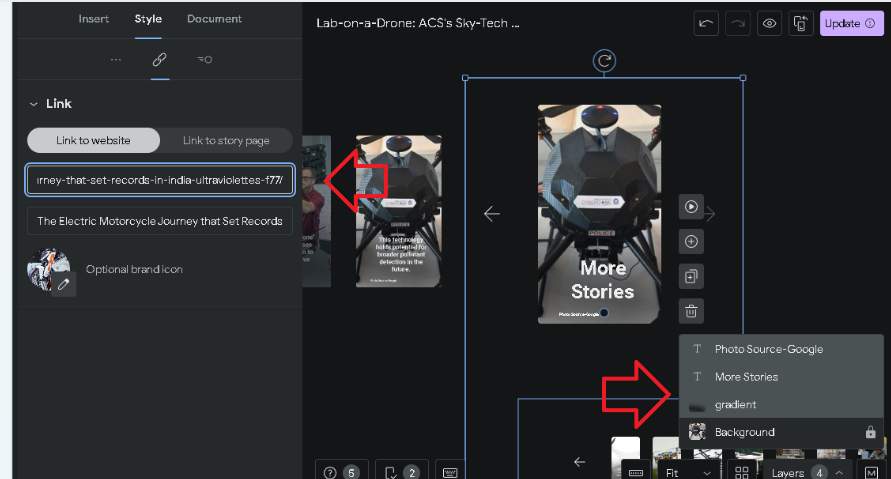
6. Setting Up the Post Link into The Web Story
- Go to you WordPress dashboard and copy the URL link of your article.
- Now Go to your web story, select all the layers. and paste the URL in the link section under style.

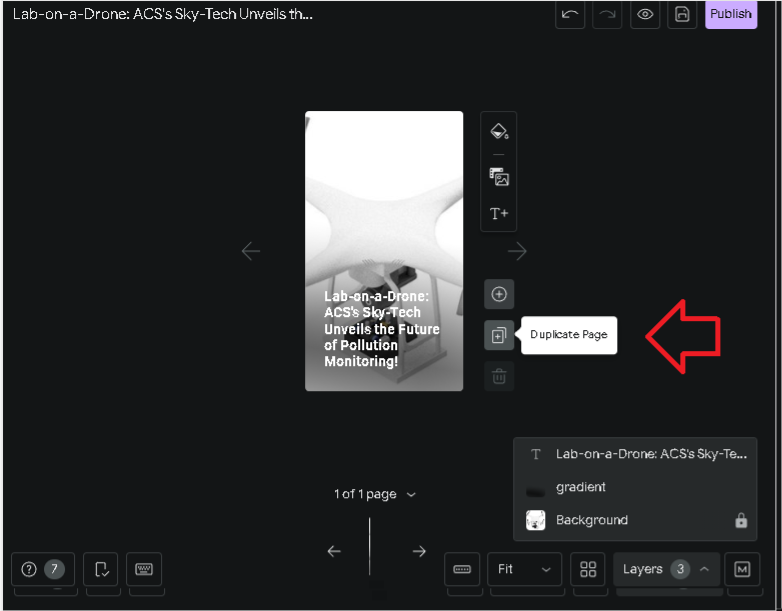
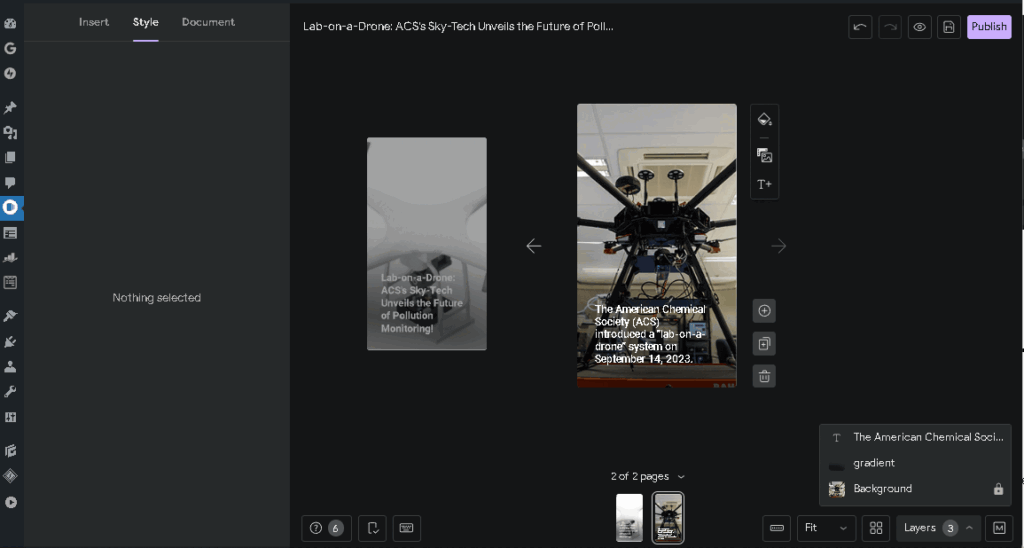
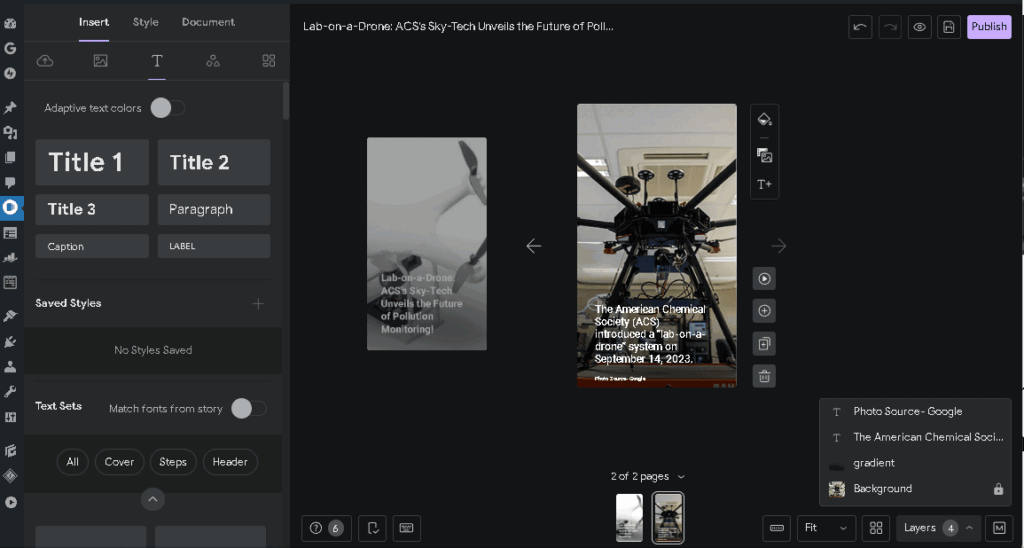
7. Setting up the second page
- Duplicate the page using the duplicate button.
- Now copy the first key sentence from the given doc and replace the previous text in the second page of your web story. Adjust the text position appropriately inside the red box.

- Now replace the image with the one of the images you uploaded.

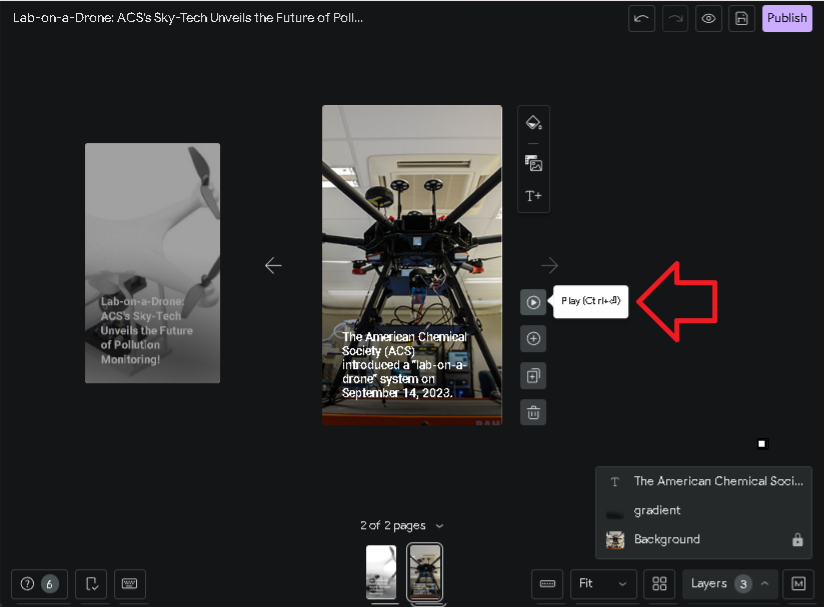
- Now select the image layer and go to left top style section and add an appropriate animation.
- Check the animation with the play button. Adjust the image using scale and crop option if required.
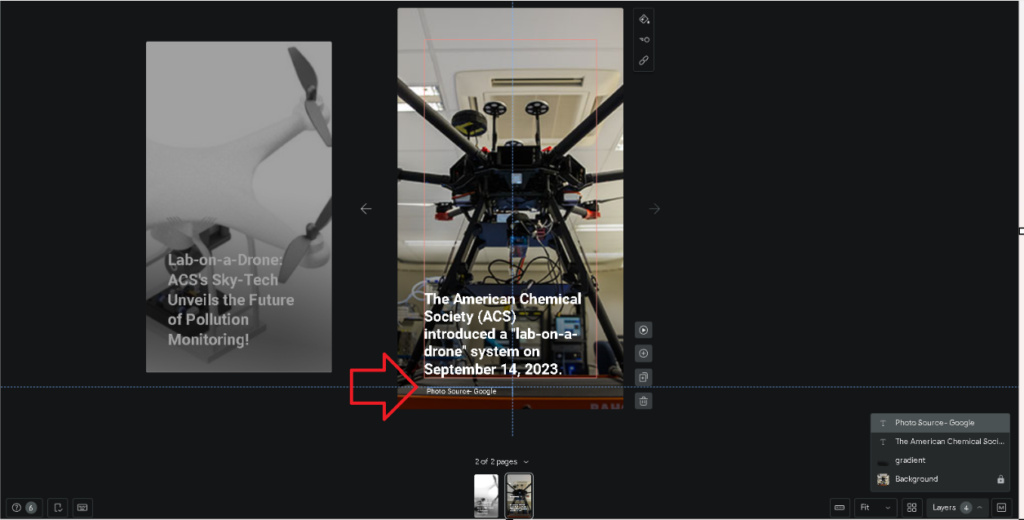
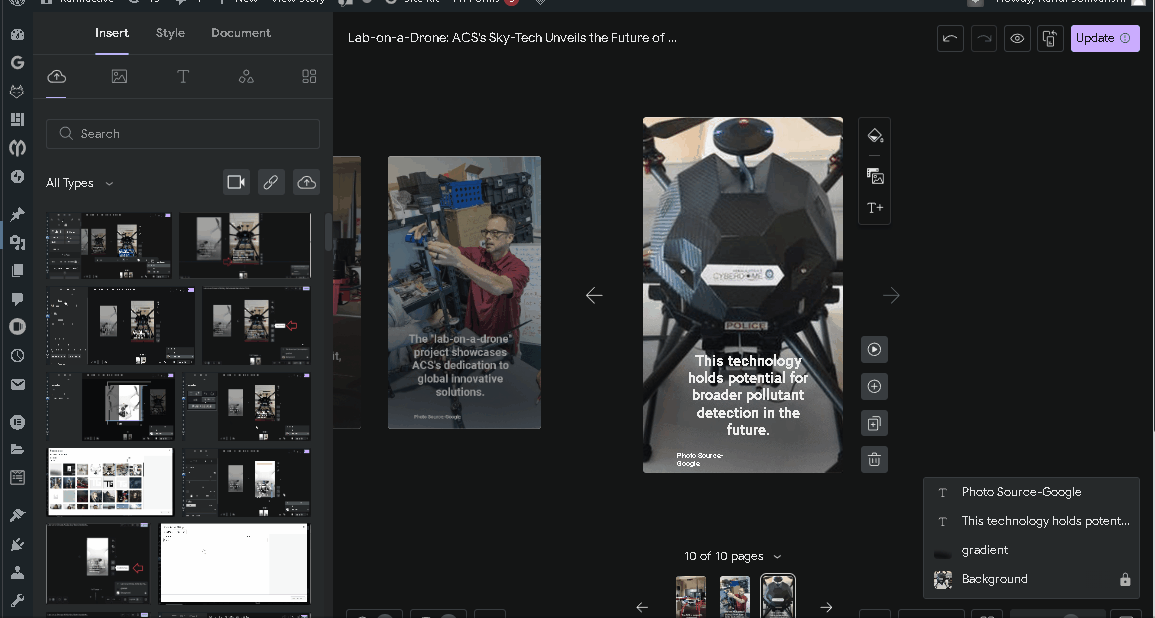
8. Credit The Photographer or Source
- Go to insert section>Text>Caption. Now type in the the appropriate credit. In this case we type in “Photo Source- Google.”
- Adjust the position just below red box and make the color white.
9. Setting up the remaining pages
- Duplicate the 2nd page, replace the text with 2nd key sentence from the given doc and replace the image with another image.
- Adjust the test position and font size appropriately. You can adjust the image using scale and crop tool as shown previously.
- Repeat this for rest of the key sentences.
Note- Contact your colleague if you have any doubt.
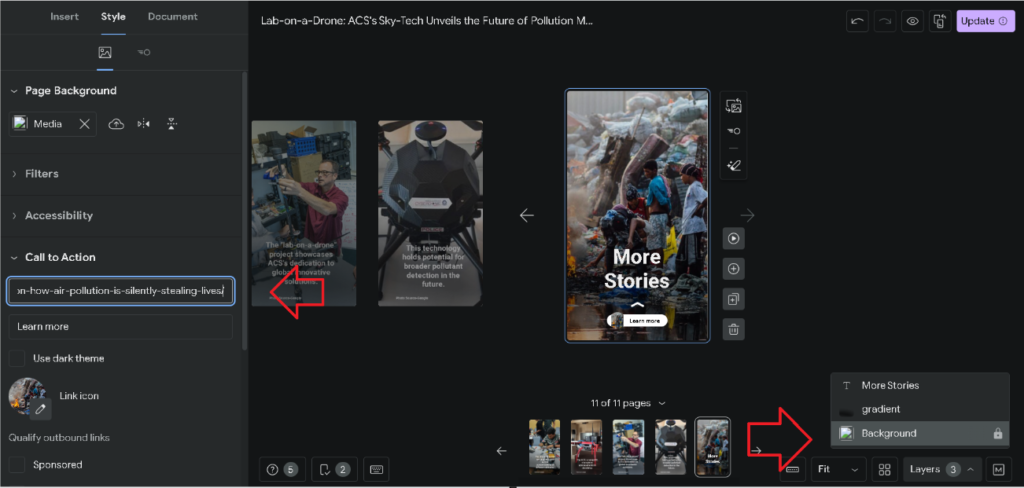
10. Setup the last page in the web story
- Duplicate the page with the last key sentence.
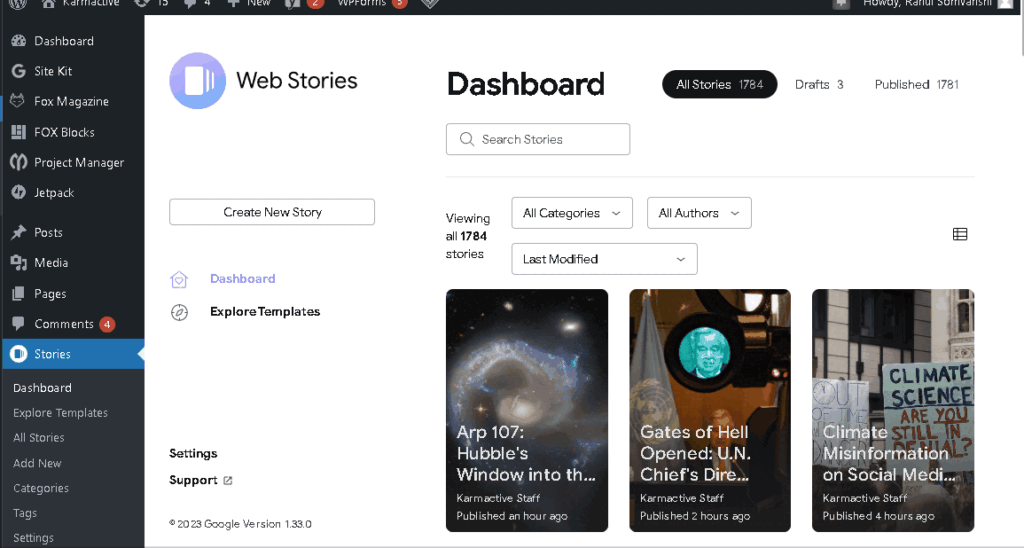
- Go to your stories dashboard.
- Copy the story URL you wish to lead your viewers from the current story.
- Now go to your web story, select all layers and paste the URL in the link section under style.
- Now replace the image with the appropriate feature image of the selected story.
- Now select the background layer and paste the link in the call to action window.
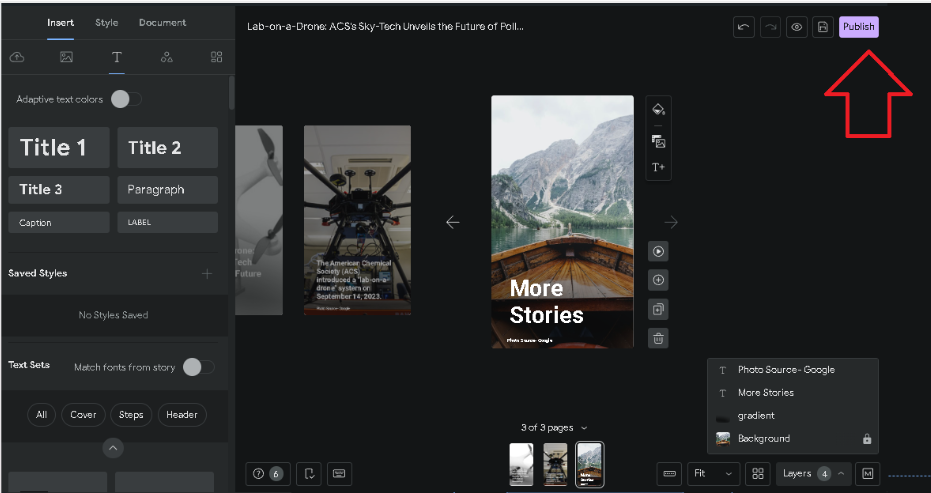
11. Final Check ands Publishing the Story
- Click on the publish button on the top right corner and wait for the final check window.
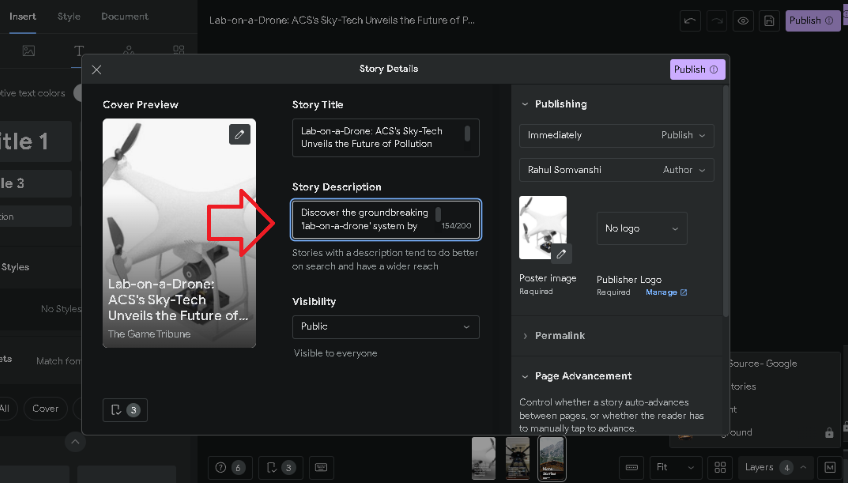
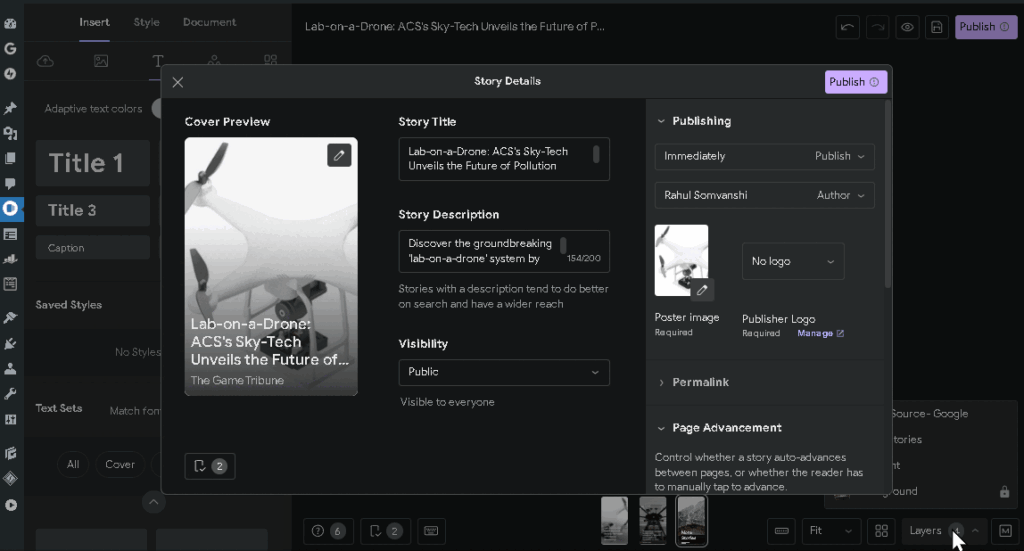
- Once the final check window opens up, select the feature image in the poster section.
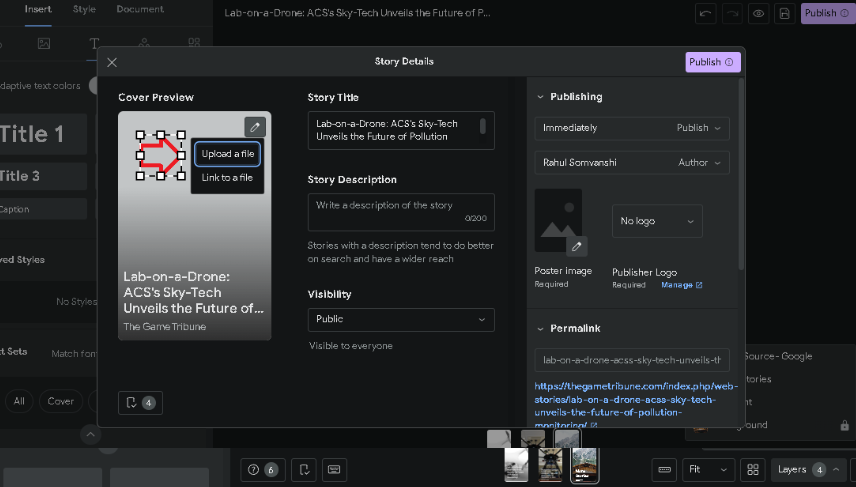
- Add meta description from the given into the description section.
- Now add the categories and tags from the given doc into the taxonomy section for each.
- Now finally publish the story.
Web stories have emerged as an engaging and interactive way to present content on the web, especially for mobile users. They offer a visually appealing format that’s easy to consume, making them a popular choice for many content creators. If you’re using WordPress, creating a web story is straightforward, but there are specific steps to ensure your story is both captivating and accessible. This guide will walk you through the process of creating a supplementary web story for your post, from gathering imagery to the final publishing steps. Whether you’re a seasoned WordPress user or a beginner, this step-by-step tutorial will help you craft a compelling web story for your audience.


