Welcome to the comprehensive guide for new members of the Karmactive Team! Embarking on a new journey can often come with its set of challenges, but we’re here to make your transition smooth. This guide is designed to walk you through the process of publishing an article on our platform. From ensuring you have the right equipment to the intricacies of setting up links and SEO configurations, we’ve got you covered. Let’s dive in and get you started on your first post!
Before you begin, make sure you have a descent computer with minimum 5mbps internet. speed. Once you have your login details, follow the guide which explains step by step process to publish.
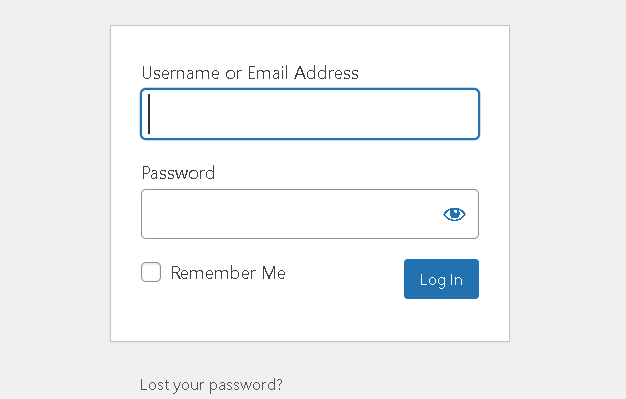
Login to WordPress:
- Go to your WordPress website’s admin URL (usually yourdomain.com/wp-admin).
- Enter your username and password to log in.
1. Create a New Post:
- In the left sidebar, hover over “Posts” and click on “Add New.”
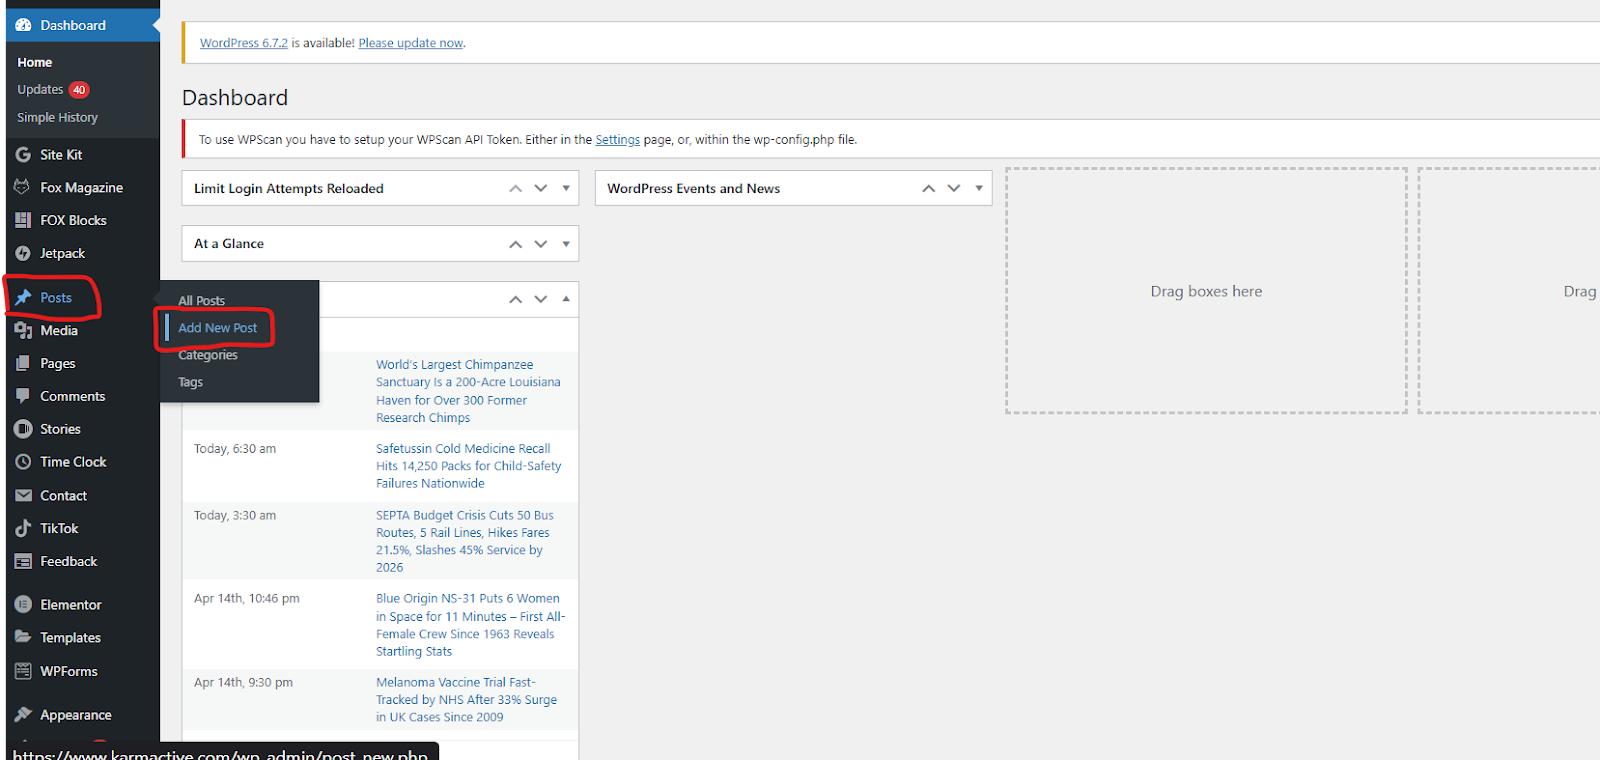
Note: Ask your colleague if you have any doubts
2. Enter Your Content:
- Find the given doc for the article that is supposed to be published.
- Find title in your given doc and copy
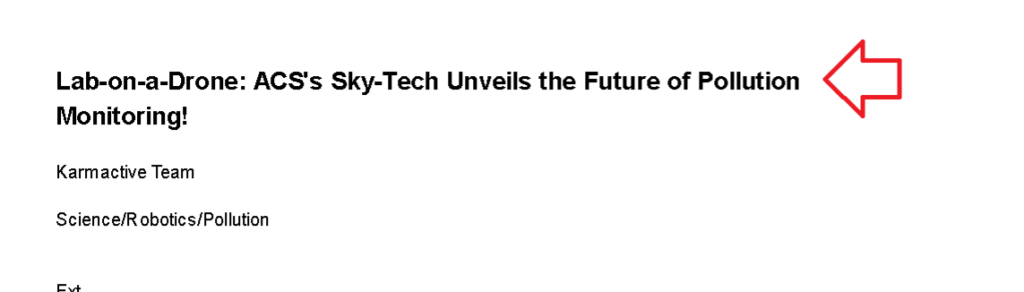
- Find the title field in WordPress’s new post tab
Copy and Paste the title and main body:
https://youtube.com/clip/Ugkxwsr91Jl4S-5UMp40SrFmOIyaLIUMJNc_?si=cBJxNvpA-JO3a-Ae
3. External (Outbound) Links and Internal Links (Already Added)
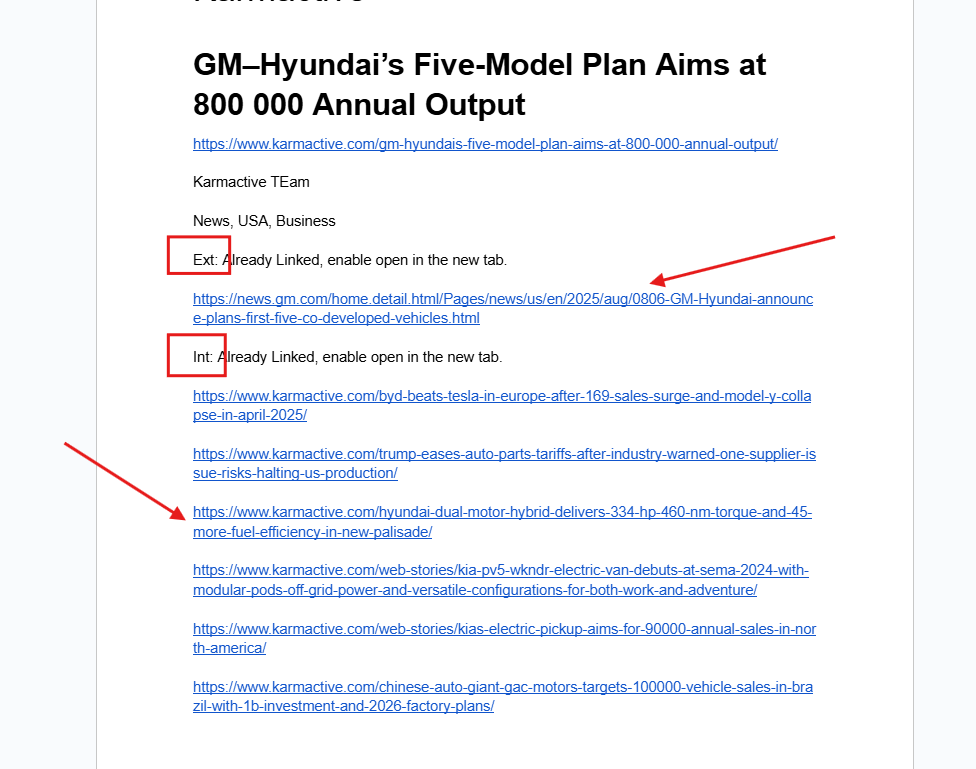
External (Outbound) Links: (Ext)
Definition: Links that point from your website to another website.
Purpose: They can provide references, direct users to related resources, or cite sources. They can also be used for affiliate marketing or promotional purposes.
- Find the external links from the given doc and copy, one at a time.
Note: If External links are already added in the main body, cross check it and skip the external link adding part. But, Don’t forget to enable open in the new tab.

Internal Links: (Int)
Definition: Links that point to another page on the same website.
Purpose: They help in website navigation, establish information hierarchy, and distribute “link equity” around the site. They also guide users to relevant content and can aid in SEO by helping search engines understand site structure.
4. Now Lets Complete the SEO Configuration
Meta Description:
Definition: A brief summary (usually up to 160 characters) of a webpage’s content.
Purpose: It provides a concise overview of the page’s content in search engine results. A well-written meta description can entice users to click on your link.
- Find the Meta Description in the given doc and copy.
Add the Meta Description and Focus keyphrase, Watch the below video:
5. Add the Author Name, Categories and Tags
Watch This:
Categories:
Definition: Broad topics or sections under which content on a website can be grouped.
Purpose: They help organize content on a website, making it easier for users to find related posts or articles. Categories are especially useful on blogs or news sites.
Note: Uncheck the default “Latest” category, if “Latest” Category is selected.
Tags:
Definition: Specific keywords or phrases associated with a piece of content.
Purpose: They provide a more granular way to organize and link related content. Unlike categories, which are broad, tags can be very specific
.
- Add tags (minimum 2, maximum 5):
- Check existing tags before adding new ones
- Don’t repeat categories as tags
- Use the tag suggestions as ideas, but verify them first
Published Article Main Body Structure
Karmactive Team
1. Article Title
2. Article Main Body
3. Add the similar post section, after the completion 50% of the article.
4.Google news button at the end of the article.
5. FAQ section is above the Google News Button.
6. WhatsApp channel link you have to add before the last two paragraphs in the article.
6. Add Google News Block
- Go to the end of the article and press Enter to create a new line
- Click the “+” icon to add a block
- Search for “News” and select the Google News block
Google News Block Adding Video Tutorial:
7. Add Similar Posts Section
- Count the total paragraphs in your article
- Add the similar posts section after approximately 50% of the content
- Click the “+” icon between paragraphs to add a separator block
- Add a paragraph block and type “Similar Posts”
- Transform this paragraph into an H2 heading
- Add a columns block (50/50 split)
- In each column, add an embed block and paste the post URL
Similar Posts Section Video Tutorial:
8. FAQ Section (If Available)
How to add FAQ Section:
9. Add the Spacer block in between your Google News Button and FAQ Section
9.1 Go in between the FAQ Section and Google News Button. You will see a Plus Icon > Click on it > Search “Spacer”. 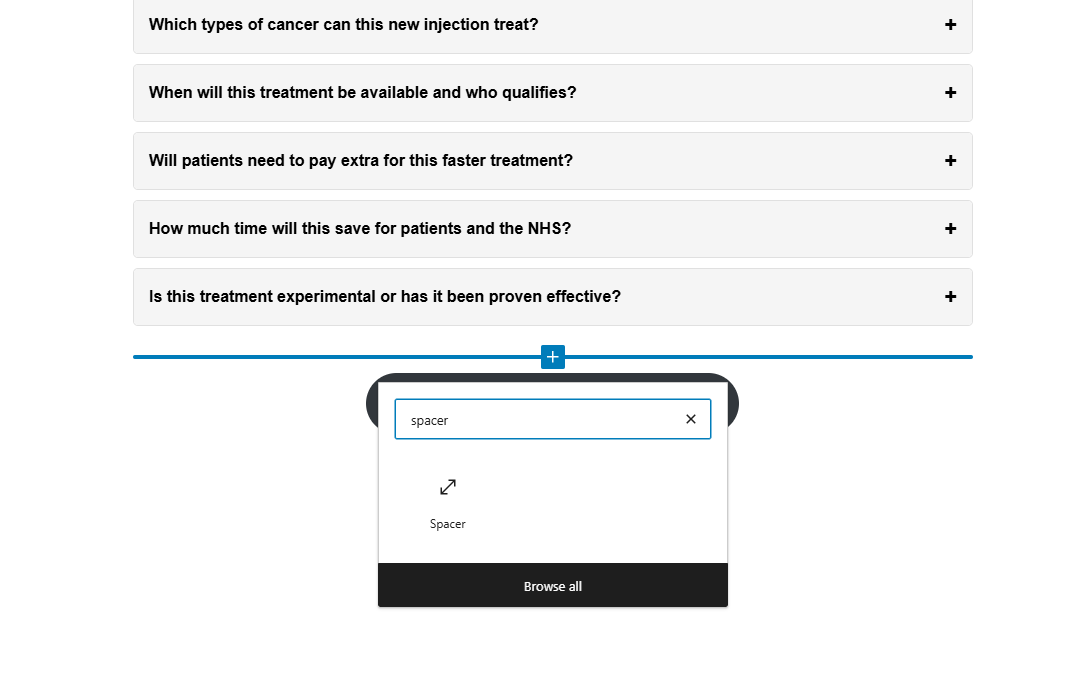
9.2 Select the block and you successfully added the space in between FAQ Section and Google News Button. 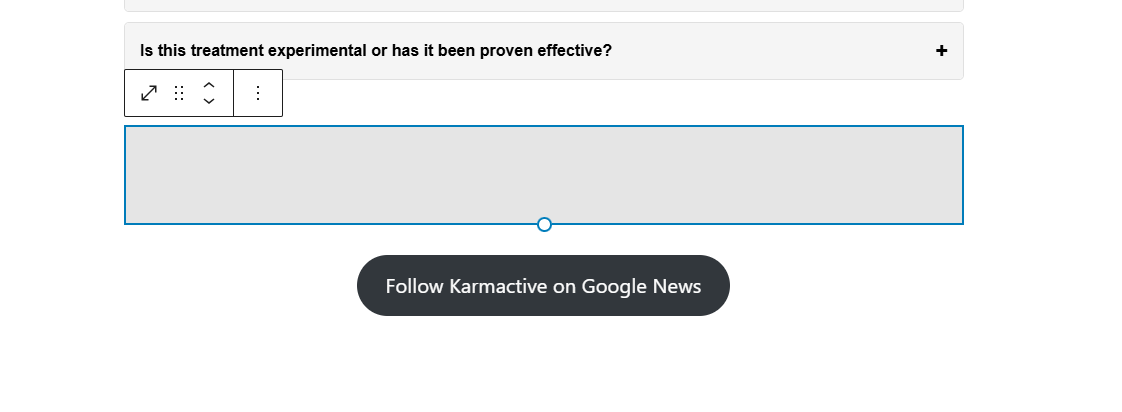
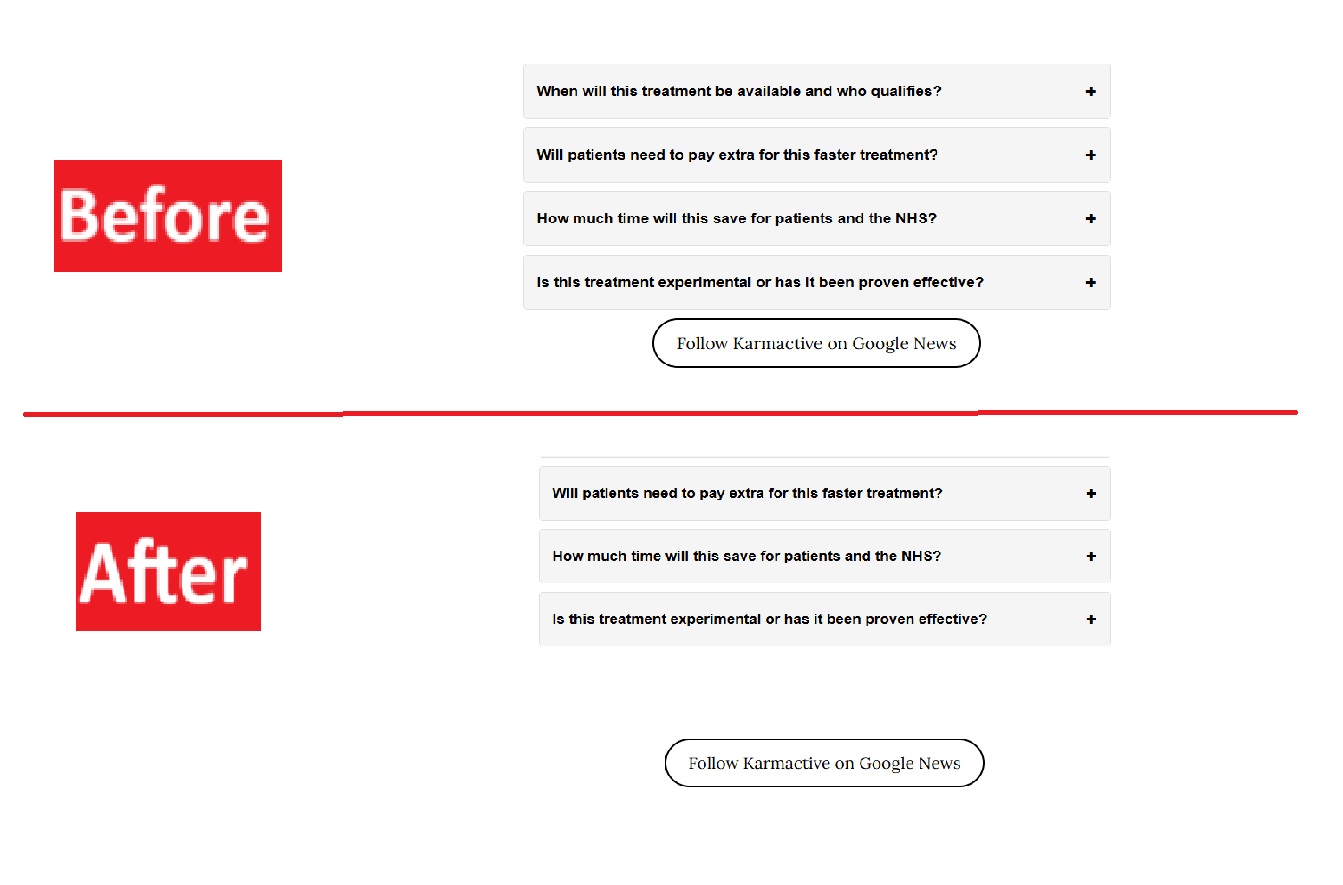
9.3 You Can Check Before and After “Spacer Block”. How will it looks like?
10. Whatsapp Channel
Add WhatsApp Channel:
11. Transform the subheading into Level 3 (If Subheading Available)
Heading Level 3:
12. Feature Image:
12.1 Check Image Size Requirements
There are two main rules for images:
For Small Images (Less than and equal to 1000 pixels wide)
- File size should be between 50 KB to 100 KB
- If less than 50 KB → Take screenshot and report the problem
- If more than 100 KB → Take screenshot and report the problem
For Large Images (More than 1000 pixels wide)
- File size should be between 100 KB to 150 KB
- If outside this range → Take screenshot and report the problem
12.2 Step by Step Feature Image Adding and Resizing
Add the Feature Image: https://youtu.be/cZmZ7wIenkY
12.3 Feature Image Caption
How to add Feature Image Caption:
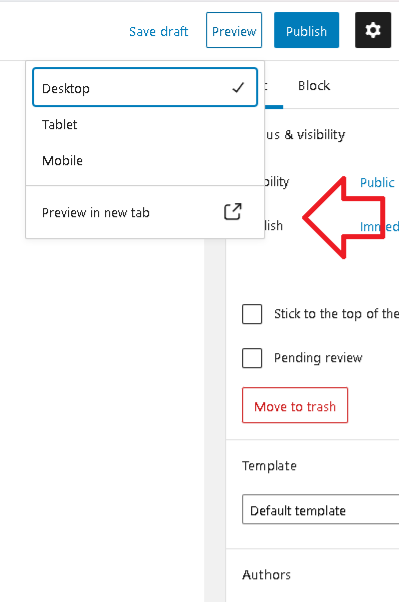
13. Now that your post is ready to be published, just have a final check in the preview section.
14. Karmactive Article Checklist, With the help of this below checklist, check everything what you did.
- Title
- Main body
- External Link (With Open in new tab enable)
- Internal Link (With Open in new tab enable)
- Focus Keyphrase + Meta Description
- Author Name + Categories + Tags
- Google News Button
- Similar Posts Section
- FAQ Section
- Whatsapp Channel
- Feature Image (File Size, Dimension, Remove Properties, Rename with Article Title)
- Feature Image (Caption + Alt Text)
- Thumbnail (No Stretch Option)
- Layout Option
- Check the preview of your article. (If your article is publish then check the direct published version)
15.
After publishing or scheduling your article. Add the article in the doc file, after article title. Like:
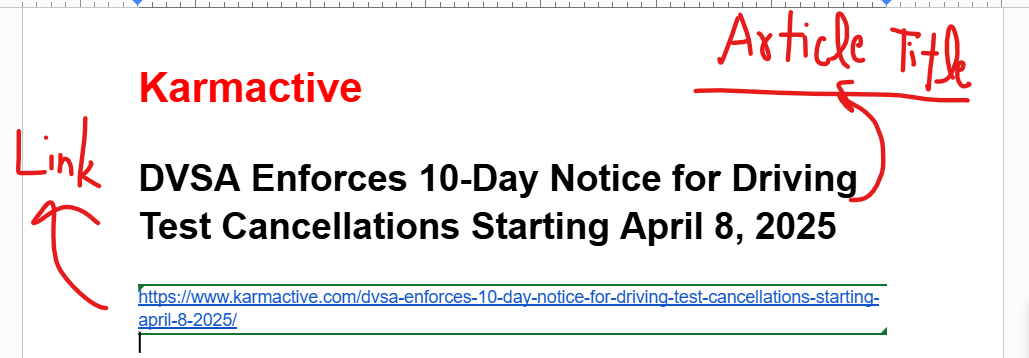
16. After the final check please publish your post
Congratulations on successfully navigating through the steps of publishing an article with the Karmactive Team! This guide is your go-to resource for ensuring each post meets our standards and reaches our audience effectively. Remember, every post you publish contributes to our brand’s voice and reputation. If ever in doubt, don’t hesitate to reach out to a colleague. We’re a team, and we’re here to support each other. Happy publishing, and welcome aboard!
Extra Tip: How to Schedule Article:


